🐛 Problems
Powdery Mildew on Peas: Causes and Fixes
White powder on your pea plants? Powdery mildew explained — why it hits late-sown UK peas in summer, how to slow it, and the resistant varieties to grow.
Part of: How to Grow Peas at Home in the UK
Some links on this page are affiliate links. If you buy through them we may earn a small commission, at no extra cost to you. We only recommend things we think are genuinely useful for home growers.
The short version
- The cause — a fungal disease driven by dry roots plus warm days and cool nights from July onwards.
- Worst hit — late June and July sowings cropping through muggy August, especially if they go short of water.
- The fix now — water deeply at the base two or three times a week, strip the worst leaves (bin, don't compost), and keep picking.
- Don't bother spraying — for a few weeks of late cropping, fungicides rarely pay off; prevention next year matters more.
- Prevent it — grow resistant varieties ('Greenshaft', 'Terrain'), sow early or successionally, and mulch to keep roots cool and moist.
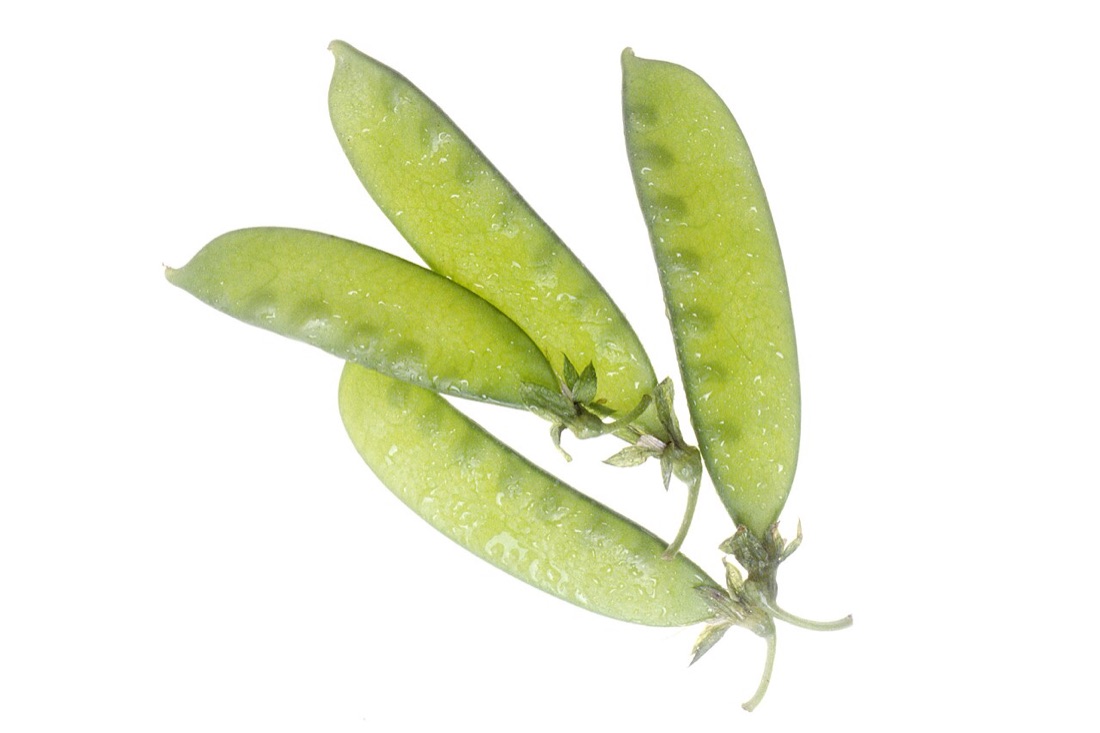
- Still edible — the pods are perfectly safe to eat; mildew just weakens the plant.
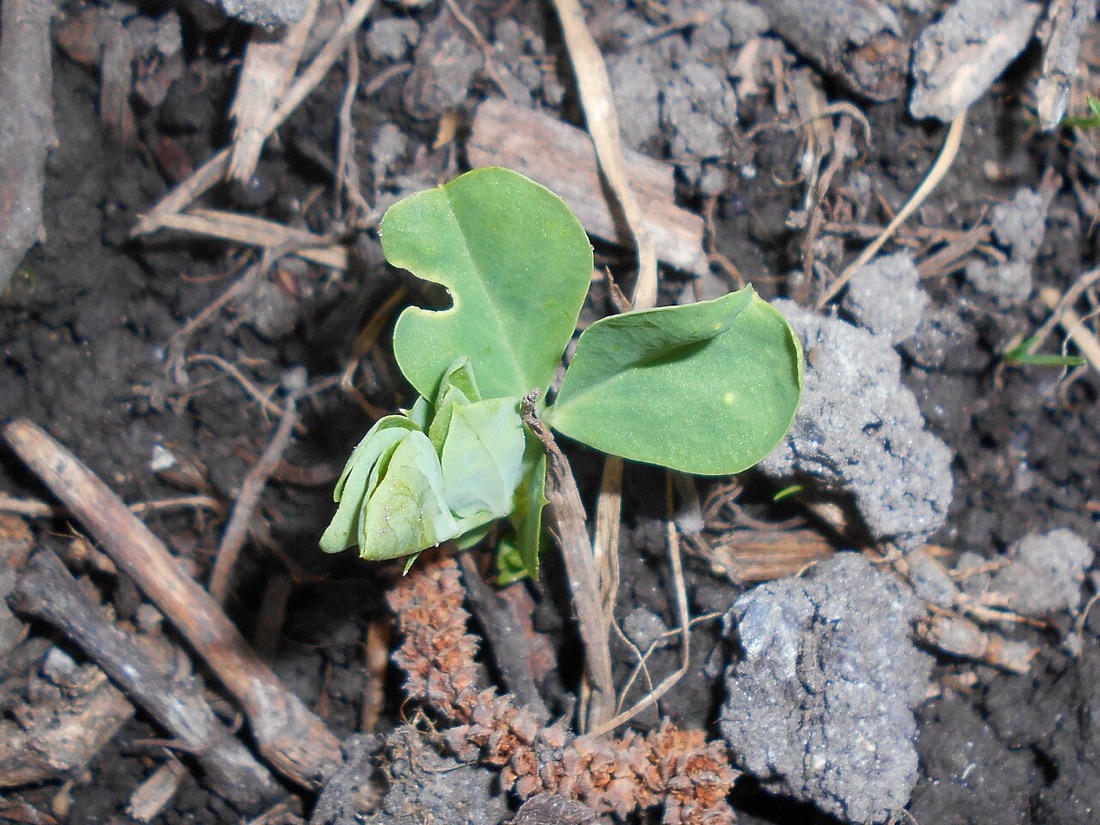
That white, dusty coating spreading over your pea plants in mid to late summer is powdery mildew — a fungal disease driven mainly by dry roots and the UK's classic warm-day, cool-night weather from July onwards. It almost always strikes the later sowings, and the single biggest trigger is plants going short of water at the roots. The good news: the pods are still perfectly safe to eat, and a few simple changes will slow it right down next time.
How to recognise it
Powdery mildew is one of the easier pea problems to identify. It starts as small, pale, powdery patches — usually on the upper surface of the older, lower leaves first — that look almost as if someone has dusted the plant with talcum powder or flour.
Left unchecked, those patches spread and join up until whole leaves, stems and even the pods are coated in a greyish-white film. The affected leaves eventually yellow, curl and dry out, and the plant takes on a tired, scorched look from the bottom up.
A few things help you tell it apart from other issues:
- It rubs off. Wipe a leaf gently and the white coating smears — it sits on the surface rather than being part of the leaf.
- It spreads upwards and outwards from the oldest growth, not in random spots.
- It loves dry spells. You will usually notice it after a warm, settled fortnight — not after heavy rain.
Mildew vs. a harmless white bloom
Some pea varieties naturally have a slightly waxy, bluish-grey sheen on healthy leaves and pods. If it is even, won't rub off, and the plant looks vigorous, that is just the plant's natural bloom — not mildew.
Don't confuse it with downy mildew either, which shows as yellow blotches on top with greyish fuzz underneath and prefers cool, wet weather. Powdery mildew is the dry-weather, top-of-the-leaf one — and by far the more common of the two on UK peas.
Why it happens
Powdery mildew on peas is overwhelmingly a problem of stress and timing. Understanding the three main drivers tells you almost everything about how to avoid it.
Dry roots and drought stress
This is the big one. Powdery mildew fungi thrive in exactly the conditions that stress a pea plant — warm days, cool nights, high humidity around the leaves, but dry soil at the roots. A pea plant that is short of water has its guard down, and the fungus takes full advantage.
Peas are shallow-rooted and surprisingly thirsty, especially once they start flowering and filling pods. A week of warm, dry UK summer weather without a proper soak is often all it takes to tip a healthy-looking row into mildew.
Late sowings catching the worst weather
The earliest peas, sown in March and April, usually crop and finish before mildew weather really sets in. It is the June and July sowings that run headlong into the warm, muggy August conditions the fungus loves — and they are also the sowings most likely to hit a dry spell while they are cropping. If your peas reliably get mildew every year, the sowing date is usually the reason.
Crowding and poor air flow
Peas packed too tightly, or grown without support so they sprawl into a dense, damp tangle, trap humid air around the leaves. That stagnant, moist microclimate is ideal for the spores to germinate and spread. Good spacing and proper support keep air moving and leaves drying — both of which the fungus hates.
For the full picture on getting spacing, support and sowing dates right from the start, see the main guide to growing peas.
What to do about it now
If mildew has already arrived, you can't cure the infected leaves — but you can slow its spread and keep your plants cropping for as long as possible.
Water deeply at the base. This is the most useful thing you can do mid-season. Give the roots a thorough soak — a couple of watering cans' worth per metre of row, two or three times a week in dry weather — directing the water at the soil, not over the foliage. Damp leaves help the fungus, while well-watered roots help the plant fight back. A relaxed, unstressed plant resists mildew far better than a thirsty one.
Remove the worst-affected leaves. Pick off the most heavily coated lower leaves and bin them (don't compost them — that just recycles the spores). Thinning out the worst foliage also improves air flow through the row, which slows further spread.
Keep picking. Once mildew takes hold, the plant's days are numbered, so harvest regularly to get every pod you can. Picking often also keeps the plant productive rather than letting it tire itself out on a few overgrown pods.
Clear up properly at the end of the season. When the row is finished, pull up and bin or burn the infected plants rather than leaving them to rot in place. Cut the tops off and leave the roots — peas are a legume and their roots fix nitrogen back into the soil, which is a gift to whatever you grow next.
Don't reach for the sprayer first
For a few weeks of late-season cropping, it rarely makes sense to start spraying fungicides. Deep watering, removing bad leaves and harvesting promptly will get you through. Prevention next season matters far more than chemistry this season.
How to prevent it next year
Because mildew is so predictable, prevention works well. Stack a few of these habits and you may never see a serious case again.
Grow mildew-resistant varieties
Plant breeders have done a lot of the work for you here. Several widely available UK pea varieties carry good resistance to powdery mildew — well worth choosing if your peas suffer every year or if you like to sow late:
- 'Greenshaft' — a reliable, heavy-cropping maincrop with good mildew resistance and long, well-filled pods.
- 'Terrain' — bred specifically for strong powdery mildew resistance; an excellent choice for later sowings.
- 'Kelvedon Wonder' — an old favourite with useful resistance, good for successional sowing.
- 'Ambassador' — a maincrop with good all-round disease resistance, including mildew.
You will find these from most UK seed merchants. Look for "powdery mildew resistant" or "PM resistant" on the packet.
Sow early, or sow little and often
Timing is your strongest lever. Get an early sowing in during March or April (under a cloche or fleece if the soil is cold) so it crops before the worst mildew weather. Then use successional sowing — a short row every two to three weeks — so no single batch is left cropping through the muggiest part of August. Our guide to successional pea sowing walks through a sowing rhythm that keeps fresh peas coming while dodging the worst of the disease. The planting calendar will give you UK-specific sowing dates to plan around.
Keep the roots cool and moist with mulch
A 5cm layer of mulch — garden compost, leafmould or grass clippings — over the soil around your pea row holds moisture in and keeps the roots cooler and steadier. Since dry roots are the number-one trigger, a good mulch quietly removes the biggest risk factor. Lay it once the soil is damp and warm, and top it up if it thins out.
Space and support properly
Give plants room to breathe. Sow at the spacing on the packet rather than cramming the row, and support taller varieties with twiggy sticks, netting or a wigwam so the foliage stays open and dry rather than collapsing into a humid heap. Air flow is free mildew prevention.
Powdery mildew is rarely the end of the world — most years it just means the late peas bow out a little sooner than you'd like. Water deeply, choose a resistant variety, mulch the roots and sow early or successionally, and you'll keep it to a minor late-season nuisance rather than a crop-wrecker. The same warm-day, dry-root pattern drives powdery mildew on courgettes, so if it turns up on one crop, give the others a good soak too. For everything else about getting a great pea harvest, head back to the full pea growing guide or browse more fixes in the problem-solving section.
Key terms in this guide
- Successional sowing
- — Sowing small amounts of a fast crop every few weeks rather than all at once, so you harvest a steady supply instead of a glut followed by a gap.
Useful tools for this
Frequently asked questions
What causes powdery mildew on peas?
Can you still eat peas with mildew?
Keep reading
How to Grow Peas at Home in the UK
Grow sweet, tender peas in the UK — the best varieties, when and how to sow, supporting the plants, and picking for a heavy crop from June to August.
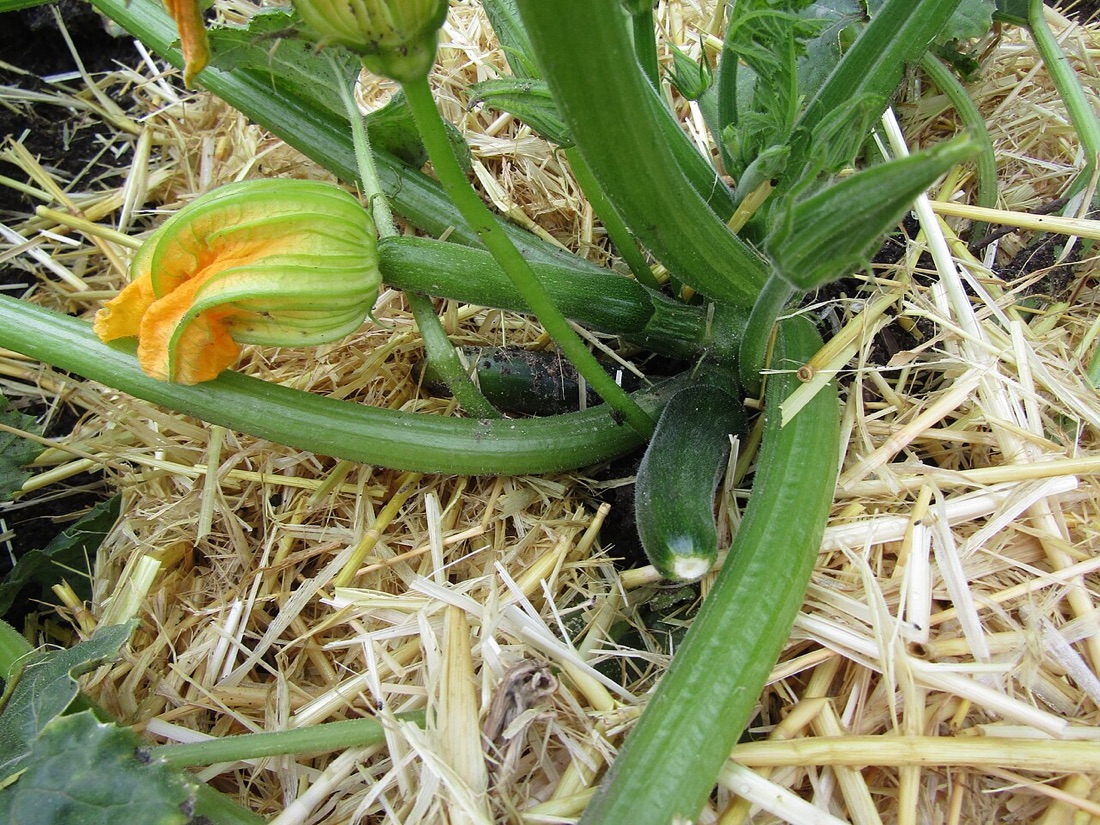
Powdery Mildew on Courgettes: Causes and Fixes
White powder on your courgette leaves? Powdery mildew explained — why it strikes in late summer, how to slow it, and the resistant varieties to grow.
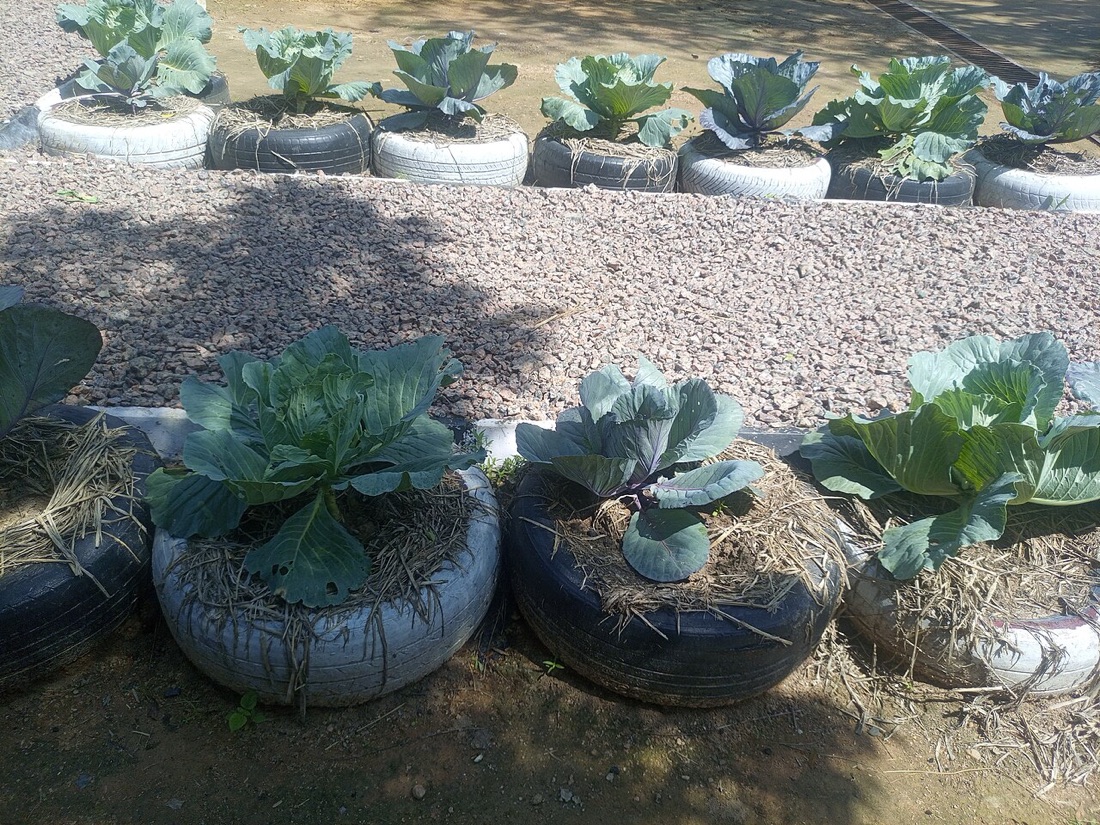
Clubroot in Brassicas: How to Manage It
Clubroot in cabbages and other brassicas in the UK — how to recognise the swollen, distorted roots, why it lingers in soil, and how to keep growing brassicas.