🥕 Vegetables
Earthing Up Potatoes: When and How to Do It
How and when to earth up potatoes in the UK — why it matters, how to do it, and how it protects tubers from frost and stops them turning green.
Some links on this page are affiliate links. If you buy through them we may earn a small commission, at no extra cost to you. We only recommend things we think are genuinely useful for home growers.
The short version
- Start when shoots hit 20cm — usually a few weeks after planting, often late April into May depending on the spring.
- Repeat every 2–3 weeks — draw soil up over the bottom third to half of new growth until ridges are 25–30cm high.
- Why bother — keeps tubers in the dark (no green, toxic spuds), shields shoots from late frost, and boosts your yield.
- In bags and pots — same idea, just top up with compost in stages until the container is nearly full.
- Biggest pitfall — leaving tubers exposed to light; cover any that poke through straight away, and never bury the whole plant.
Earthing up is one of those jobs that sounds technical but takes about five minutes a plant and makes a real difference to your crop. If you are new to spuds, this short guide explains exactly what it is, when to do it, and how — whether you are growing in the ground or in a bag on the patio.
What earthing up is and why it matters
Earthing up simply means drawing soil (or compost) up around the base of your potato plants as they grow, building the flat row into a raised ridge. You do it several times over the season, each time burying a little more of the stem.
It is worth the effort for three reasons.
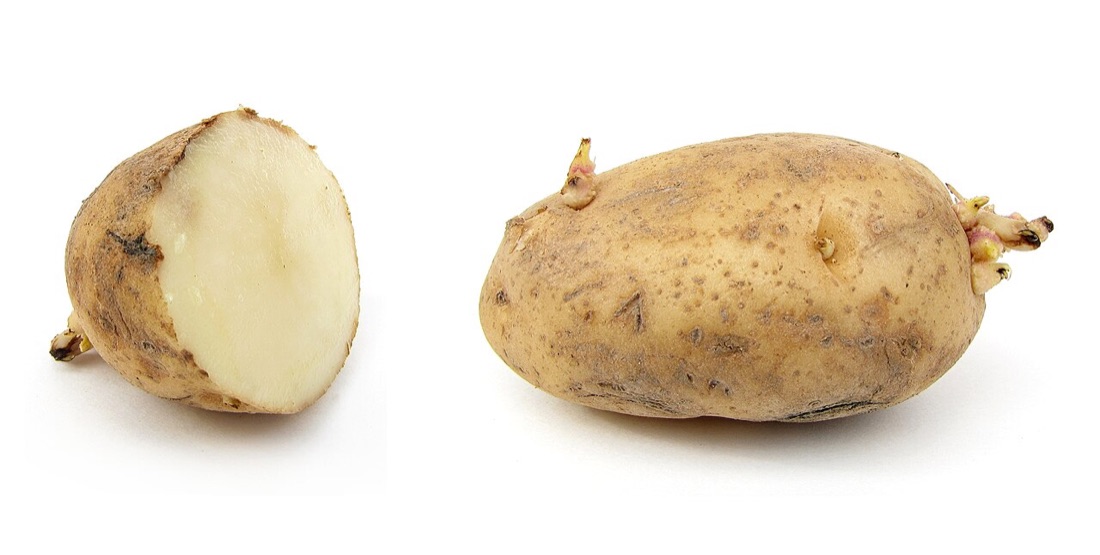
It stops tubers turning green. Potatoes form on underground stems near the surface. If a tuber pokes up into the light, it produces chlorophyll and turns green — and green potatoes contain solanine, a natural toxin that makes them bitter and unsafe to eat. A good mound of soil keeps developing tubers in the dark where they belong.
It protects shoots from frost. Potato foliage is tender, and in much of the UK a late frost is still possible well into May. Burying the soft new shoots gives them a layer of insulation, and means a hard night does less damage to the plant.
It gives you more potatoes. Cover more of the stem and the plant produces more of those underground side-shoots (called stolons), each of which can set tubers. More buried stem roughly means more spuds, so earthing up is partly about yield, not just protection.
If you want the full picture of how potatoes grow from planting to harvest, the main guide to growing potatoes sets earthing up in context alongside watering, feeding and lifting.
When to start and how often
Start earthing up when the green shoots are about 20cm tall — usually a few weeks after planting, depending on the variety and how warm your spring has been. In a cold, slow start to the year that might be late April or into May; in a mild one it comes sooner. The planting calendar is handy for keeping track of where your earlies and maincrops should be.
After the first earthing up, repeat every two to three weeks as the plants put on height. Each time, draw soil up so that roughly the bottom third to half of the new growth is covered, leaving plenty of leaf in the light to keep growing.
Keep going until your ridges are around 25–30cm high, or until the rows start to flower and the foliage closes over and meets between the rows. By that point the plants are doing the work themselves and the canopy shades the soil. You typically earth up two or three times in a season.
Frost watch
In a cold spring, keep an eye on the forecast through May. If frost threatens after your shoots are up, earthing up (or a temporary fleece cover) is your first line of defence.
How to do it in the ground
In the open ground, earthing up is straightforward. You are pulling loose soil from the path between the rows up and around the stems to form a ridge with sloping sides.
- Loosen the soil between the rows. Run a draw hoe or a rake along the path on each side of the row to break up the surface. This is also a tidy way to deal with any small weeds.
- Draw the soil up to the plants. Pull the loosened soil towards the stems from both sides, mounding it up around the foliage so the lower part of each plant is buried. Aim for a smooth, ridged shape rather than a loose pile.
- Firm it gently and tidy the sides. Pat the ridge lightly so it holds its shape and sheds rain off to the sides. A neat, steep-sided ridge is less likely to wash flat in a downpour.
A draw hoe is the classic tool for this, but a rake or even a sturdy trowel works fine on a small plot. Do it when the soil is slightly moist rather than bone dry or claggy — it moves and holds together far more easily. If your soil is heavy or low on organic matter, it is worth improving your soil with compost before you plant, as light, crumbly soil is much nicer to earth up and gives the tubers room to swell.
Earthing up in bags and containers
The same principle applies in a bag, pot or tub, you just add compost in stages instead of drawing up soil. This is one reason containers are so beginner-friendly: there is no hoeing, just topping up.
Start by filling your bag or pot with only about 15–20cm of compost and plant your seed potato into that. As the shoots grow, add more compost around them — covering the bottom half of the new growth each time — and keep going every couple of weeks until the bag is nearly full to the top. By the end the whole depth of the bag is full of stems that can set tubers, which is exactly what you want.
Our full guide to growing potatoes in containers walks through bag sizes, compost and watering in more detail. The watering point matters: a full bag dries out fast in summer, so check it daily in warm weather.
Frost protection
Even with earthing up, a sharp late frost can blacken any foliage left above the soil. Potatoes usually recover and push up fresh shoots, but it sets the plant back and costs you growing time.
If frost is forecast once your shoots are well up and too tall to bury completely, you have two easy options:
- Earth up a little extra to cover as much of the soft growth as you can the evening before.
- Throw a layer of horticultural fleece over the row overnight, weighted at the edges, and lift it off in the morning once the air has warmed.
Either is far cheaper than losing the early growth. Earlies, which are out of the ground first, are the ones most likely to need this — maincrops planted later often dodge the worst frosts.
A quick frost trick
No fleece to hand? An old sheet, a few sheets of newspaper or even a scattering of straw over the shoots will take the edge off a light frost overnight. Just remember to remove it in the morning.
Common mistakes
A few simple slips catch beginners out.
Leaving tubers exposed. The single most common problem is not earthing up enough, so tubers near the surface see daylight and turn green. As noted above, green potatoes contain solanine and should not be eaten — cut your losses and compost any that have greened. If you spot a tuber poking through during the season, cover it straight away.
Starting too late. If you wait until the plants are tall and sprawling, it is hard to mound soil up without snapping stems. Make the first earthing up when shoots are around 20cm and you will find the whole job much easier.
Covering the plant completely. Earthing up should bury the lower stem, not the entire plant. Always leave a good tuft of leaves in the light so the plant can keep photosynthesising and growing.
Letting the soil dry out. Trying to earth up bone-dry, dusty soil just makes a ridge that collapses with the next shower. Water first or wait for rain, then work with soil that holds together.
Get the timing right and earthing up is genuinely one of the most satisfying jobs in the veg garden — neat ridges, healthy foliage, and a much better crop come harvest. If you are at the very start of the season, it is worth reading up on chitting potatoes too, as a strong, well-chitted seed potato gives you sturdier shoots to earth up in the first place. And if you spot brown patches spreading across the leaves in a wet summer, check our guide to potato blight — earthing up your tubers well also helps protect them from blight spores washing down from infected foliage.
Useful tools for this
Frequently asked questions
Why do you earth up potatoes?
When should I earth up potatoes?
Do you need to earth up potatoes in containers?
Keep reading
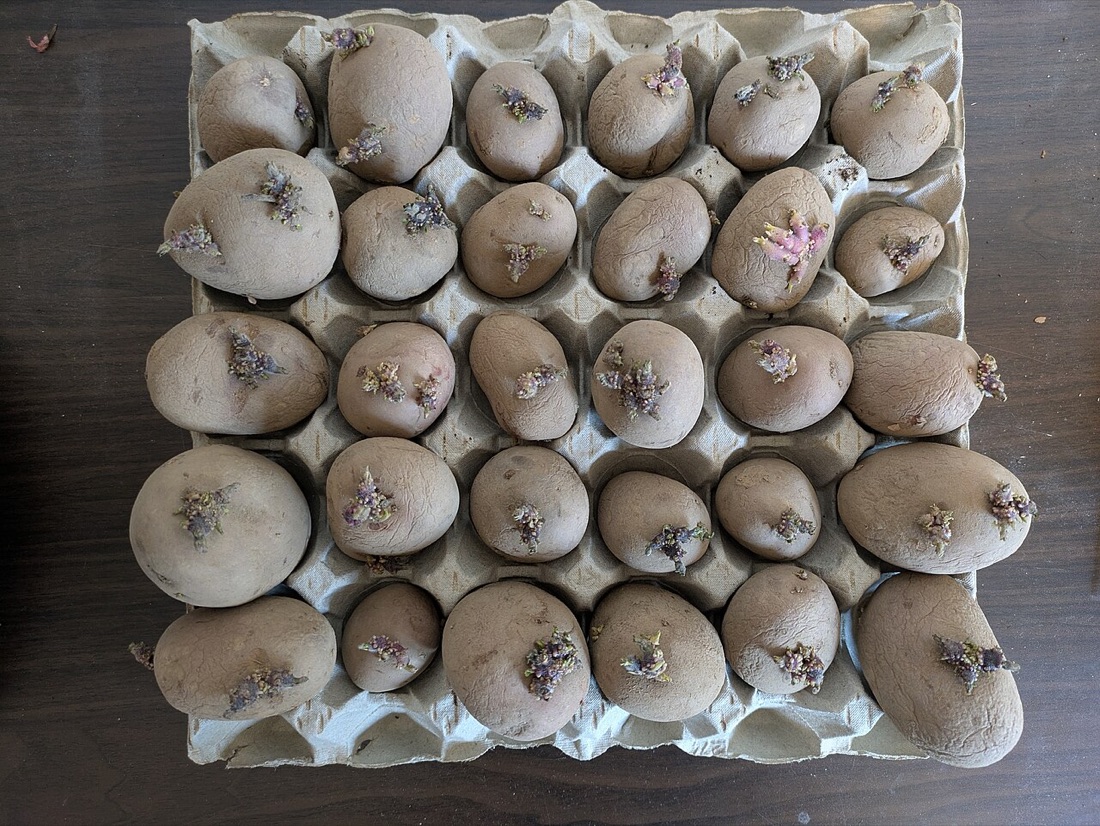
Chitting Seed Potatoes: Why and How
How to chit seed potatoes in the UK — what chitting is, why it gives early potatoes a head start, and the simple egg-box method step by step.
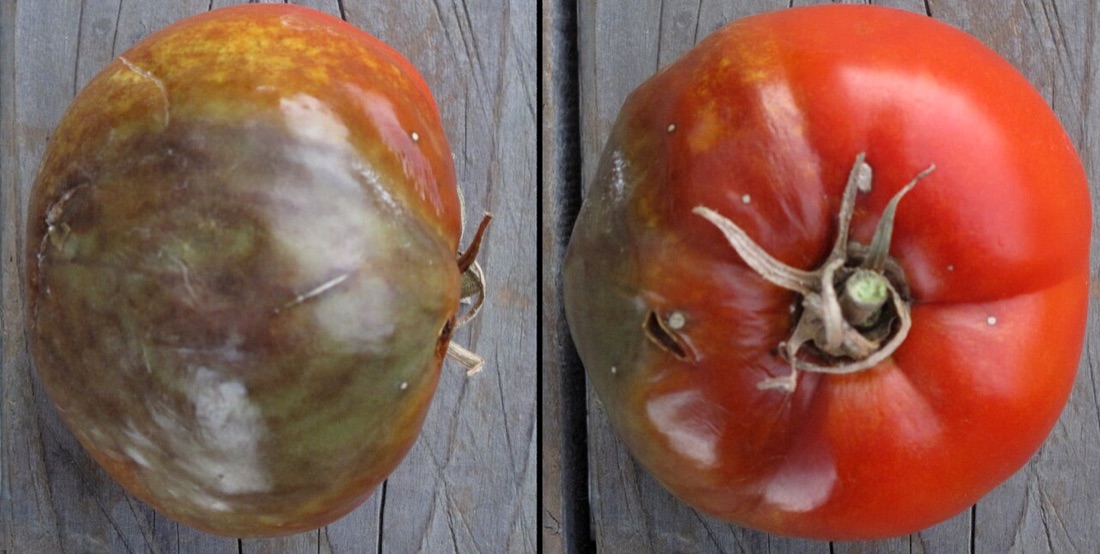
Potato Blight: How to Recognise and Beat It
Potato blight in the UK — how to recognise it, why it spreads in warm wet weather, and how to save your crop and prevent it coming back next season.
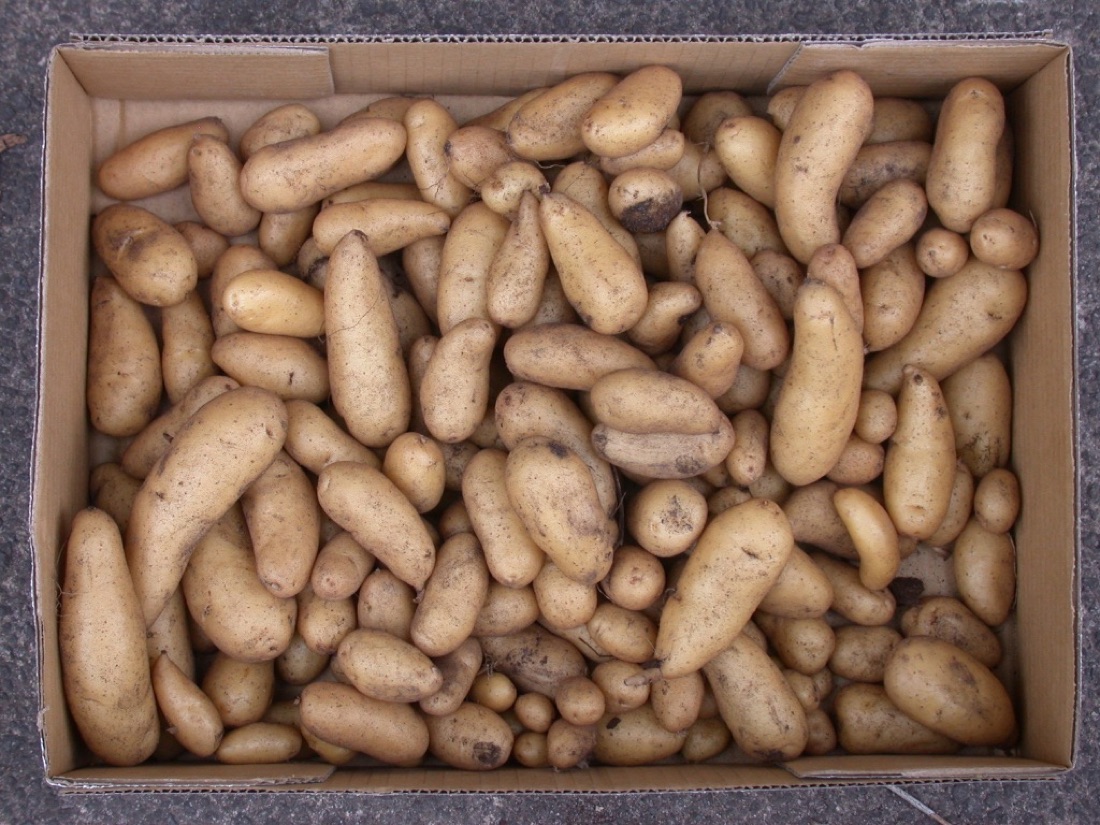
How to Grow Potatoes in Bags and Beds
Grow your own potatoes in the UK — chitting, planting, earthing up, blight and harvesting first earlies and maincrop, in the ground or in containers.