🧒 Kids
The Celery and Food Colouring Experiment
How to do the celery and food-colouring experiment with kids — watch celery drink coloured water and learn how plants take up water, step by step.
Part of: Gardening with Children: Fun Projects to Get Kids Growing
Some links on this page are affiliate links. If you buy through them we may earn a small commission, at no extra cost to you. We only recommend things we think are genuinely useful for home growers.
The short version
- You need — a leafy stick of celery, strong food colouring (red shows best), a clear glass and cold water.
- Set it up — a grown-up trims 1cm off the base, then add 10–20 drops of colour to a third-full glass and stand the celery in, cut-end down.
- Pop it somewhere warm and bright — a sunny windowsill speeds up the "drinking"; coloured veins show in 2–4 hours, tinted leaves by next morning.
- Wait 24–48 hours for the boldest result, then slice across the stem to reveal the row of coloured dots — the tiny tubes (xylem) the water travelled up.
- The science — leaves lose water to the air (transpiration), pulling coloured water up the stem, so the celery isn't eating the colour, just drinking.
- Take it further — try white carnations, split one stick between two colours, or use pale Chinese leaf for an even faster result.
There is one kitchen-table experiment that almost every grown-up remembers from their own childhood: stand a stick of celery in a glass of brightly coloured water and, like magic, the colour climbs up the stem and stains the leaves. It is cheap, it is mess-free, and it shows children something they can't normally see — a plant actually drinking. If you want a quick, satisfying first taste of plant science with a little one, this is the one to start with.
It is a lovely companion to the slower, get-your-hands-dirty projects over on our getting kids growing hub. While a sunflower or a row of lettuce takes weeks, this gives a child a result they can watch unfold over an afternoon and a night — perfect for impatient small people on a rainy UK weekend.
What you need
You almost certainly have everything already. Nothing here is specialist, and nothing is dangerous when handled sensibly.
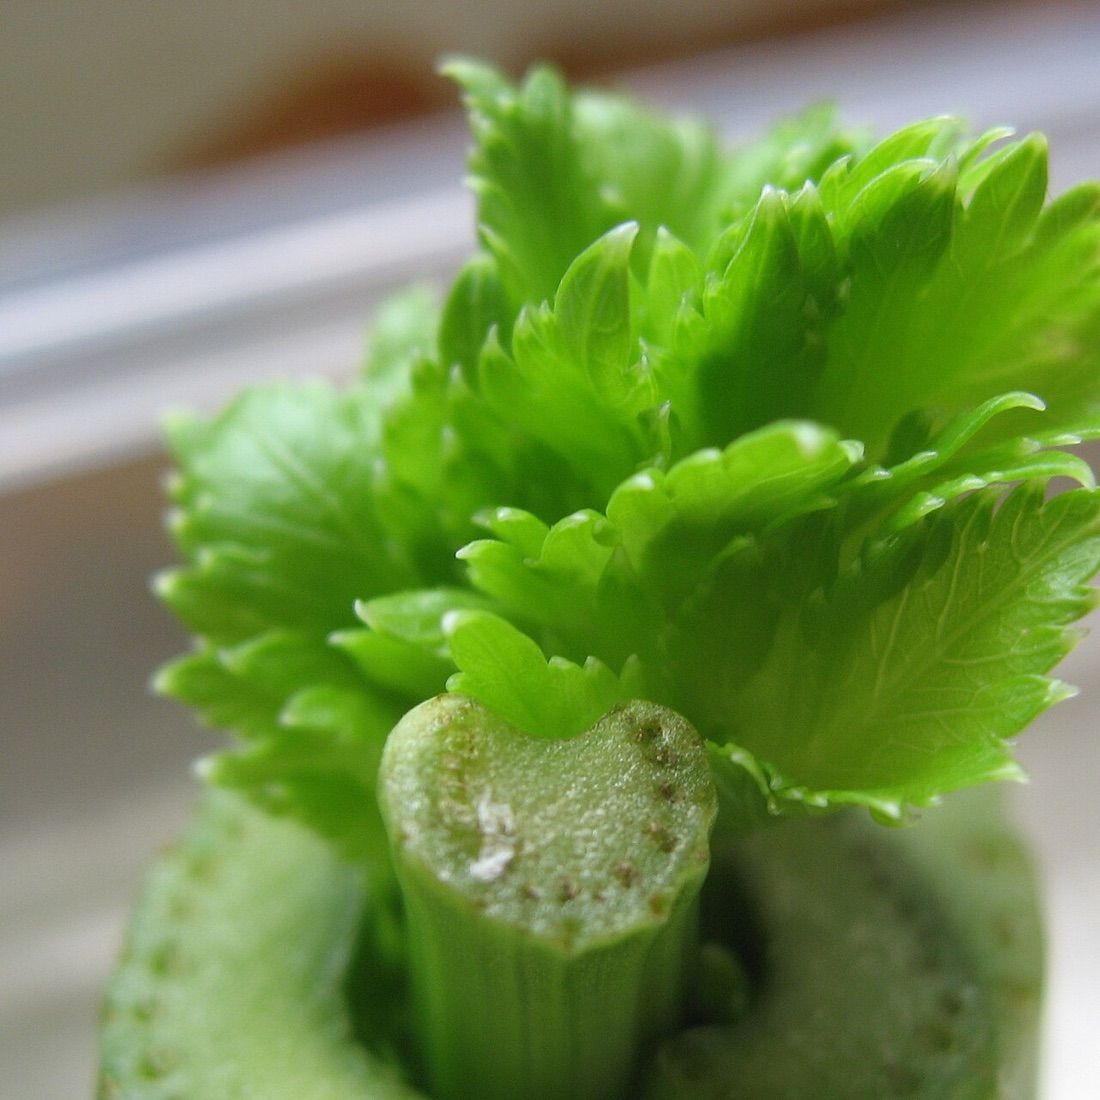
- A stick of celery with its leaves still on. The leafy top is the part that does the pulling, so don't snap it off. A pale, slightly limp stick actually works beautifully — it's thirsty.
- Food colouring. The bold liquid colours work best: red, blue or green. Buy the strongest you can — supermarket own-brand food colouring is fine.
- A clear glass or jar, so your child can see the water level and the colour. A jam jar or a drinking glass is perfect.
- Cold water, about a third of the way up the glass.
- A knife and chopping board for the grown-up, to trim the base.
Make it a fair test
If you have three glasses, set up red, blue and green side by side. Comparing them turns a single result into a proper little experiment — and children love picking which colour "wins".
How to do it, step by step
This takes about five minutes to set up, then nature does the rest.
- Trim the base. A grown-up should slice a thin piece (about 1cm) off the bottom of the celery stick with a knife. A fresh-cut base lets the celery drink freely — an old, dried-out end can block the tubes. This is the one job to keep for an adult; let your child do everything else.
- Pour the water. Half-fill the glass with cold water — roughly a third to halfway up is plenty.
- Add lots of colour. Squeeze in around 10 to 20 drops of food colouring. Be generous: the stronger the colour, the clearer the result. Let your child stir it and watch it swirl.
- Stand the celery in. Pop the trimmed stick into the glass, cut-end down, leaves at the top. Make sure the base is sitting in the coloured water.
- Put it somewhere warm and bright. A sunny windowsill is ideal — warmth and light speed up the drinking. Then the hardest part: wait.
A quick safety note
Keep the knife and trimming to a grown-up. Food colouring stains, so stand the glasses on a wipe-clean surface or a tray, and watch out for splashes on clothes and worktops.
What you will see, and when
This is where the magic happens, and the timing is part of the fun — check back together every few hours.
After 2–4 hours: look closely at the stem and you'll spot fine coloured lines beginning to creep upwards, like tiny veins. With red dye on pale celery these show up especially well.
By the next morning (24 hours): the leaves at the top will be tinted with the colour. Red dye gives reddish, papery leaves; blue gives an almost inky look. Leaving it a full 24–48 hours gives the boldest, clearest result, so an overnight wait is well worth it.
Now for the best reveal of all. Lift the celery out and let a grown-up slice straight across the stem. Inside, you'll see a neat row of coloured dots — these are the cut ends of the tiny tubes the water travelled up. Children are often genuinely amazed by this: the "magic" suddenly has a visible, physical explanation they can point at.
Look down the straws
Those coloured dots are like looking down a bundle of tiny straws. You can even peel a thin strip from the stem and hold it to the light to trace a single coloured line running up it.
The science, simply
Here's how to explain what's happening, in words that work for a curious child.
Plants don't have a mouth, but they still need to drink. A plant takes up water through its base and roots, then moves it all the way up to its leaves through lots of tiny tubes that run up the inside of the stem. These tubes are called xylem (you can say it "ZY-lem"). The coloured water travels up these tubes, which is why the colour shows up as lines in the stem and dots when you cut across it.
But what pulls the water up? The answer is the leaves. All day, water is quietly escaping from a plant's leaves into the air as vapour — a bit like washing drying on a line. Scientists call this transpiration. As water leaves the top, it gently pulls more water up the tubes from below to replace it, like sipping through a straw. A helping hand comes from capillary action too — the way water naturally creeps up very narrow spaces, the same way a tissue soaks up a spill.
So the celery isn't "eating" the colour. It's simply drinking water, the way it always does — and because we coloured the water, we get to see the journey the water takes. This is exactly how every plant feeds itself: water carries dissolved food up the stem to reach every leaf, flower and fruit. It's the same invisible plumbing at work when you water the lettuce and salad leaves growing on your windowsill.
A real word worth knowing
You don't have to use the word "xylem" with a young child if it feels like a mouthful — "tiny tubes" or "the plant's straws" works perfectly. But it's a genuine science word, and older children often love collecting it.
Fun variations to try next
Once you've cracked the basic version, there are plenty of ways to take it further.
White flowers. Stand a white carnation, a white chrysanthemum or even a white daisy in coloured water and the petals slowly take on the colour — a gorgeous result, and a lovely homemade gift. Cheap white carnations from the supermarket are perfect for this and last for days.
Split-colour celery (or flowers). Take one celery stick, and have a grown-up slice up the middle from the base to make two "legs". Stand one leg in red water and the other in blue, in two glasses set side by side. The two halves draw up different colours, and the leaves end up split — half red, half blue. It's a brilliant way to show that different tubes feed different parts of the plant.
Pale Chinese leaf or pak choi. The pale, frilly outer leaves of Chinese leaf cabbage soak up colour even faster than celery, and the colour fans out through the crinkly leaf in beautiful patterns. White spring onions and the pale ends of leeks work well too.
When your child is ready for a project they can keep, growing and eating, the classic next step is sprouting a seed they can watch root and shoot. Our bean in a jar experiment shows the other half of the story — what happens at the roots end — and pairs perfectly with this one.
Talk about it together
The experiment is more powerful when you chat about it. A few questions to spark a conversation, with no wrong answers:
- Where does the water go? It travels up the tubes, into the leaves, and then escapes into the air. (You can't see that last part — which is part of why it feels like magic.)
- Why do plants need to drink? Just like us, plants need water to stay alive, to grow and to carry their food around. A plant with no water flops and wilts.
- What would happen with no leaves? Try a stick with its leaves trimmed off versus one with them on. The leafy one usually draws up more colour, because the leaves are doing the pulling.
- Does warmth make a difference? Pop one glass on a warm, sunny windowsill and one in a cool, shady spot, and compare. Warmth and light speed up transpiration, so the warm one usually colours faster.
These are the same questions that sit behind real growing — how much to water, where to put a plant, why a wilted seedling perks up after a drink. Asking them now plants the seed (so to speak) for the hands-in-the-soil projects on the kids' growing hub, and for tending a first crop of easy windowsill lettuce. From one stick of celery, you've shown a child exactly how a plant lives — and that is a brilliant place to begin.
Frequently asked questions
How does the celery food colouring experiment work?
How long does celery take to change colour?
Keep reading
Gardening with Children: Fun Projects to Get Kids Growing
Fun, easy ways to get children gardening in the UK — quick-win crops, simple science experiments and projects that teach kids how plants really grow.
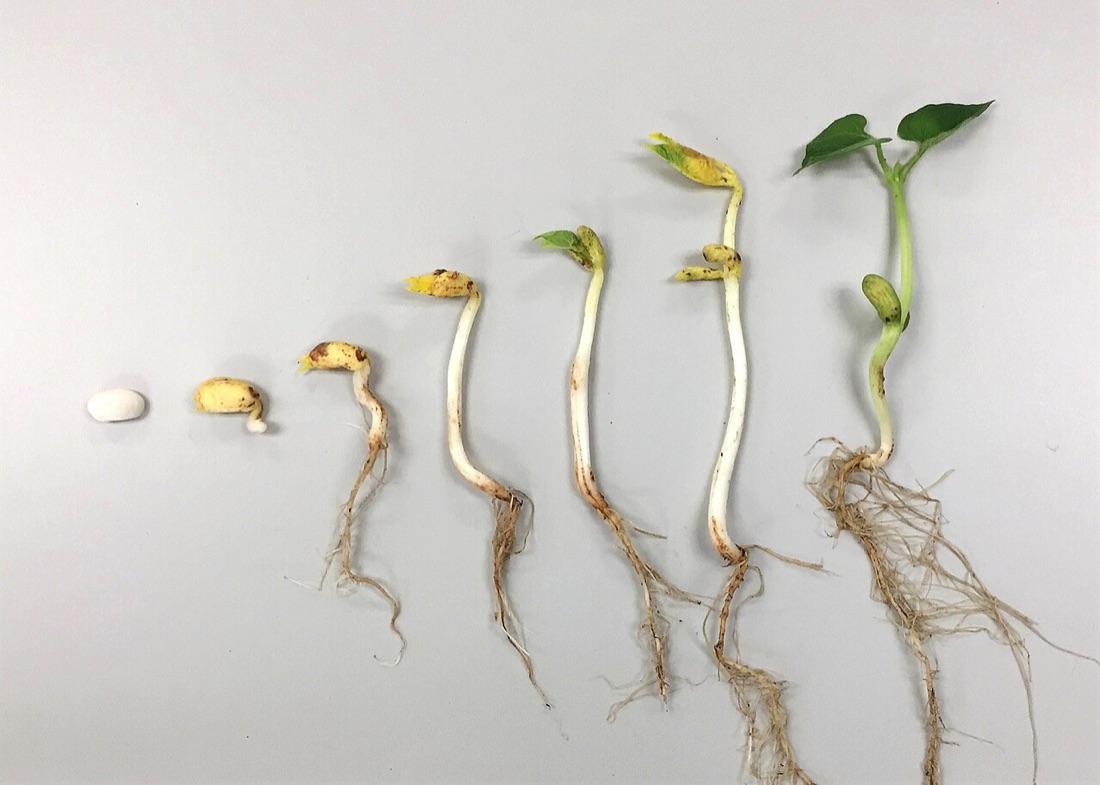
The Bean in a Jar Experiment
How to grow a bean in a jar with kids — watch a seed sprout roots and a shoot through the glass, a simple UK science project that shows how seeds grow.
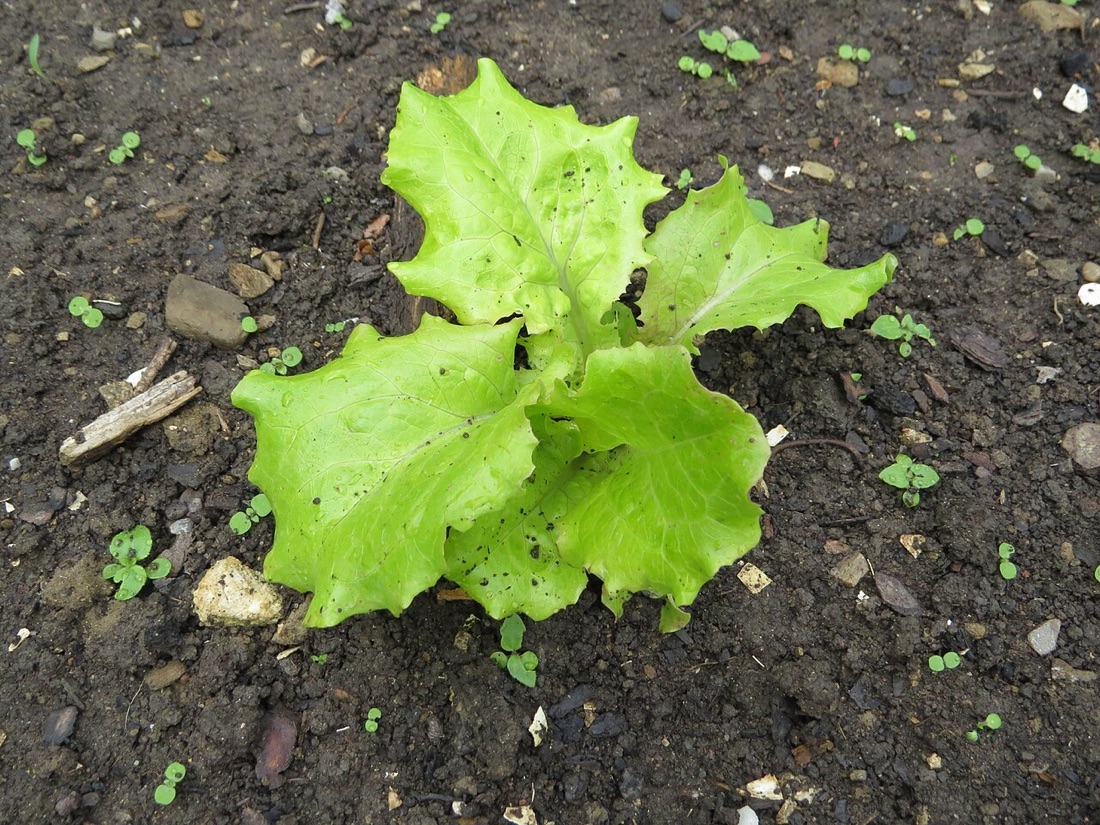
How to Grow Lettuce and Salad Leaves in the UK
Grow salad leaves and lettuce at home in the UK — which varieties to choose, how to sow, and the cut-and-come-again method for months of harvests.