🧒 Kids
Growing Cress with Kids (Cress Heads and More)
How to grow cress with children in the UK — on a windowsill, as funny cress heads or eggshell faces — a fast, foolproof first crop ready in about a week.
Part of: Gardening with Children: Fun Projects to Get Kids Growing
Some links on this page are affiliate links. If you buy through them we may earn a small commission, at no extra cost to you. We only recommend things we think are genuinely useful for home growers.
The short version
- Sow any time, indoors — scatter cress seeds thickly on damp kitchen paper, cotton wool or a thin layer of compost; don't bury them, as they need light to start.
- Ready in about a week — seeds split within a day or two and the cress is a few centimetres tall and ready to snip after roughly 7–10 days.
- Keep it bright, damp and warm — a light (but not scorching) windowsill at normal indoor temperature; turn the pot to stop it leaning.
- The golden rule: never let it dry out — growing on paper or shallow compost means little water in reserve, and a dry tray on a sunny day can finish the seedlings in hours.
- Snip, wash and eat — cut just above the surface, rinse off the seed cases, and enjoy in an egg-and-cress sandwich. It won't regrow, so sow a fresh tray every week or two.
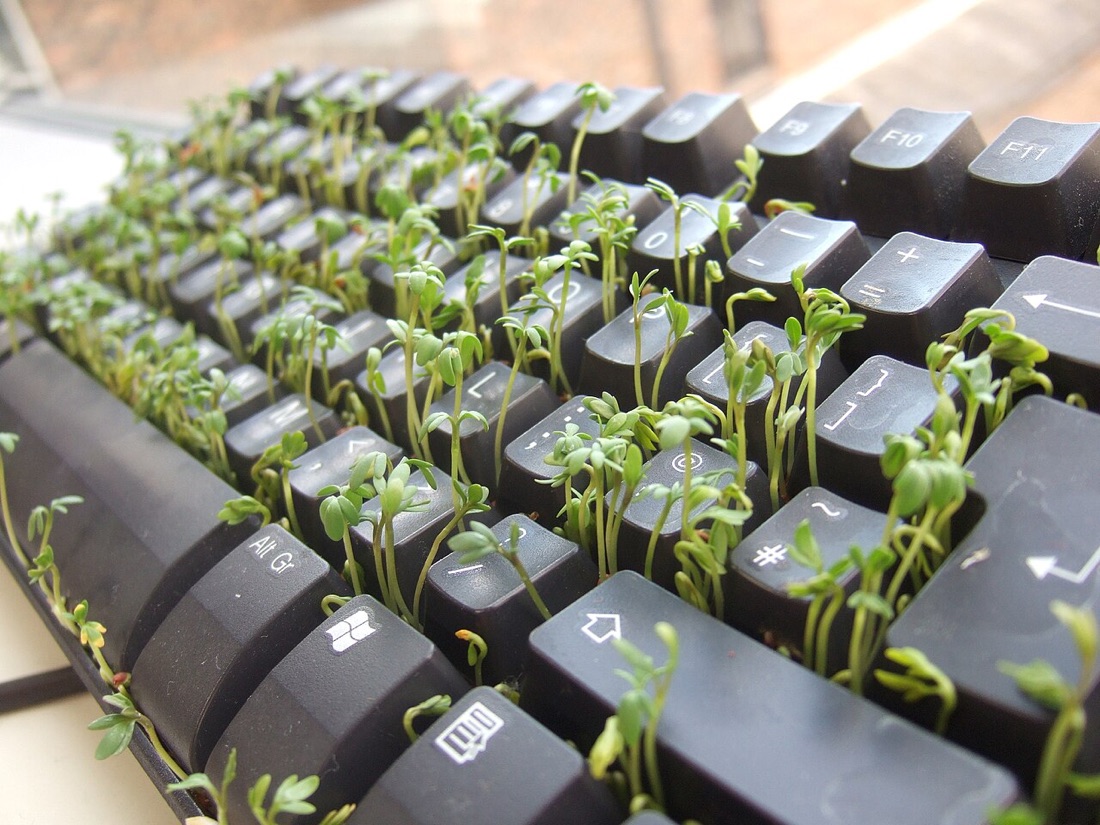
If you want one crop that will turn a doubtful child into a proud gardener in a single week, grow cress. It sprouts within a day or two, needs no garden and no compost, and ends up as something you can actually snip and eat in a sandwich. For a first growing project with little ones, nothing beats it — it is fast, forgiving and almost impossible to get wrong.
Cress is a brilliant starting point in our wider gardening with children section. The speed is the magic: small children find it hard to wait weeks for a carrot or a sunflower, but a cress head sprouting green "hair" overnight keeps them coming back to the windowsill every morning to check on it.
This guide walks you through the classic damp-paper method, how to make funny cress heads in eggshells, how to look after your cress and how to eat the results.
What you need
The lovely thing about cress is how little kit it takes. You almost certainly have most of it in the kitchen already.
- Cress seeds — a packet of garden cress (sometimes sold as "salad cress") costs around a pound and contains hundreds of seeds, so it will keep a child busy for months. You will find it in any garden centre, supermarket or online.
- A growing surface — damp kitchen paper, cotton wool, or a thin layer of seed compost. You do not need all three; pick whichever you have.
- A container — a clean yoghurt pot, an empty eggshell, a shallow tray, an old saucer or a plastic food tub all work well.
- A small jug or spray bottle of water for keeping things damp.
- A bright windowsill to stand it on.
That really is the whole list. There is no need for special seed trays, propagators or compost, which makes cress one of the cheapest and most accessible ways to get a child growing — much like the no-fuss projects we cover in our guide to windowsill growing.
A safe seed to start with
Use cress seeds bought as food or garden seed, and let your child handle them freely. As a general rule with any growing project, teach children never to eat unknown seeds, and never to nibble seed sold for sowing that has been treated (coated seed is sometimes dyed pink or blue) — but plain cress seed is exactly what egg-and-cress sandwiches are made from.
The classic method on damp paper
This is the method most of us remember from primary school, and it is still the simplest. No soil, no mess, just a few minutes of setting up.
- Line your container. Fold two or three sheets of kitchen paper (or a layer of cotton wool) to fit the bottom of a shallow tray, tub or saucer.
- Wet it. Pour or spray on water until the paper is thoroughly damp but not sitting in a puddle. Tip away any excess so the seeds will not float off.
- Sprinkle the seeds. Let your child scatter the cress seeds fairly thickly across the surface. They should sit on top of the damp paper, not be buried — cress likes light to get going.
- Find a warm spot. Pop the tray on a warm windowsill out of direct scorching sun. An airing cupboard works for the first day or two, but bring it into the light as soon as the seeds split open.
- Watch and wait. Within a day or two you will see the seeds swell, split and send out tiny white roots. This swelling and sprouting is called germination — the moment a seed wakes up and begins to grow, which needs water and warmth to happen.
Children love checking the tray morning and evening, because the change really is that quick. By day three or four you will have a green carpet of little stems, and by about a week to ten days the cress will be a few centimetres tall and ready to eat.
Why does it grow so fast?
Cress seeds carry their own tiny food store inside, so they do not need compost or feeding to make their first leaves — they simply need water, warmth and light. That is exactly why they germinate so quickly and so reliably, and why they make such a satisfying first crop for an impatient gardener.
Making cress heads
This is the project children adore. A cress head is just a face with cress growing out of the top for green hair — and watching the "hair" grow long enough for a haircut is endlessly funny.
Using an eggshell:
- Next time you cook eggs, crack them carefully near the top so you are left with a deep, cup-shaped half shell. Rinse it out gently and let it dry.
- Sit the empty shell in an egg cup so it stands upright.
- With a felt-tip pen, let your child draw a face on the front of the shell — eyes, a nose, a big smile.
- Pop a little ball of damp cotton wool (or a small spoonful of damp compost) inside the shell.
- Sprinkle cress seeds on top, press them lightly onto the damp surface, and stand the egg cup on a bright windowsill.
Within a few days the cress sprouts and the face grows a head of bright green hair that gets taller every day. Drawing a different expression on each shell — sleepy, surprised, grumpy — makes a whole family of cress heads to line up along the sill.
Using a yoghurt pot or jar: exactly the same idea on a larger scale. Draw a face on a clean yoghurt pot, fill it with a couple of centimetres of damp compost or cotton wool, sprinkle cress on top and grow your green-haired character. Bigger pots hold moisture better, so they are a touch more forgiving than fiddly little shells.
A grown-up job
Cracking and trimming eggshells, and any cutting with scissors, are jobs to do for or alongside your child — keep sharp scissors and knives for the supervising adult and let little ones handle the seeds, water and felt-tips.
Looking after it
Cress is wonderfully low-maintenance, but it has one golden rule: never let it dry out. Because it is growing on paper or a thin layer of compost rather than deep soil, there is very little water in reserve, and a dry tray on a sunny day can finish off your seedlings in hours.
- Keep it bright. A light windowsill gives you sturdy green seedlings. In a dark corner, cress grows tall, pale and floppy as it stretches towards the light.
- Keep it damp. Check every morning. If the paper or compost is drying, water gently with a spray bottle or trickle a little water down the side so you do not flatten the seedlings. Giving your child a small spray bottle and the job of the daily check is a lovely way to build the habit of looking after a plant.
- Avoid scorching sun. A south-facing sill in high summer can get very hot behind glass. A bright but not blazing spot is ideal, and turning the pot now and then keeps the cress growing straight rather than leaning.
- Mind the cold. Cress is happy at normal indoor temperatures. A chilly, draughty sill in winter will slow it right down, so keep it somewhere comfortably warm.
That is genuinely all there is to it: bright, damp, warm. Get those three right and a week later you have a crop.
Harvesting and eating
This is the best bit, and the part that turns a science project into real food.
Once the cress stands a few centimetres tall — usually around seven to ten days — it is ready to harvest. Help your child snip the stems with scissors, cutting just above the paper or compost. Give them a good wash under the tap in a sieve or colander to rinse off any seed cases, then they are ready to eat.
The classic, of course, is an egg-and-cress sandwich: mash a hard-boiled egg with a little butter or mayonnaise, stir through a handful of snipped cress, and spread it between two slices of bread. Children are far more likely to try a peppery green leaf when they grew it themselves. Cress is also lovely scattered over a baked potato, stirred into a salad, or simply nibbled straight off the windowsill.
Cress does not regrow once cut, so when one tray is done, simply rinse out the pot and sow another. Sowing a fresh batch every week or two keeps a steady supply going — a gentle first lesson in what gardeners call successional sowing.
What children learn
Behind the fun, a cress head quietly teaches the most important idea in all of gardening: seeds need water, warmth and light to grow.
Because cress germinates so fast, children can actually see cause and effect for themselves. Let one tray dry out while another stays damp, and the difference is obvious within a day. Grow one cress head on a bright sill and one in a dark cupboard, and the pale, leggy cupboard plant makes the point about light better than any lesson could. These are exactly the kind of simple, honest experiments that build a young gardener's confidence.
It is also a first taste of responsibility on a timescale a small child can manage. A daily check and a quick spray of water, rewarded a week later with something to eat, is the whole rhythm of growing food in miniature — and a perfect stepping stone to the bigger, slower projects in our gardening with children section.
What next
Once your child has caught the cress bug, there is a whole world of fast, fun growing to explore.
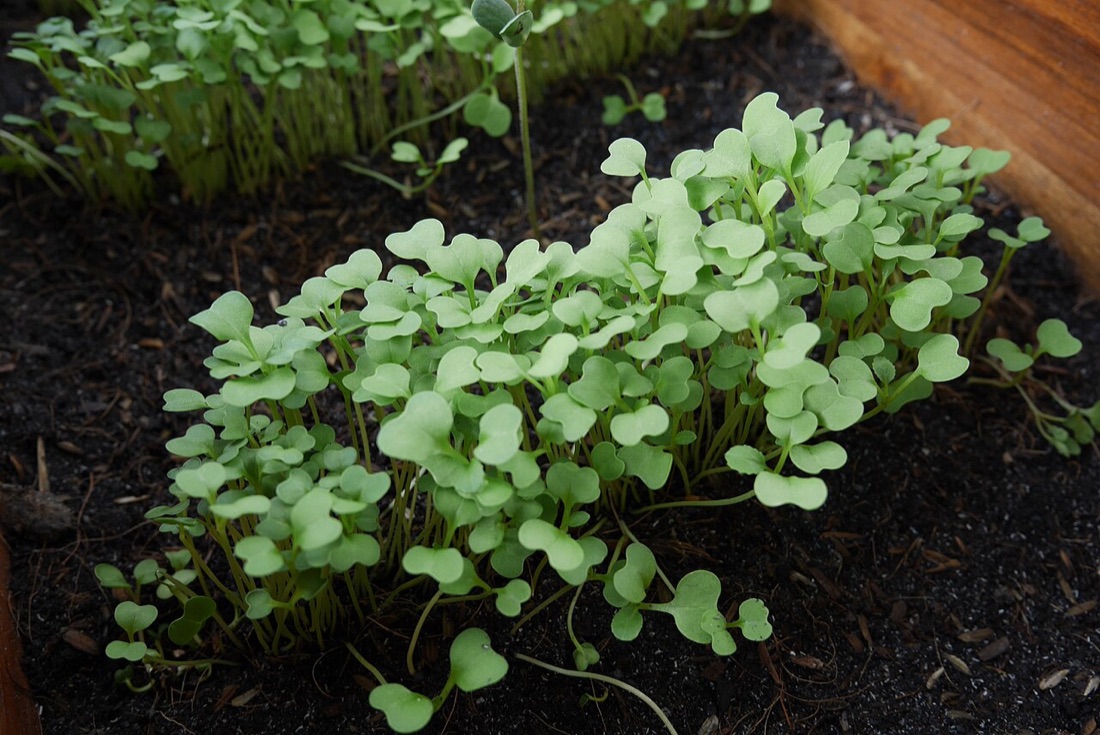
The natural next step is microgreens and sprouts — seeds like radish, peas, broccoli and mung beans grown in much the same windowsill way, but with even more flavour and variety. Our guide to sprouting seeds and microgreens shows how, with one important safety note: sprouts grown in a jar must be rinsed well, twice a day, and eaten fresh, because warm, damp conditions can let bacteria build up.
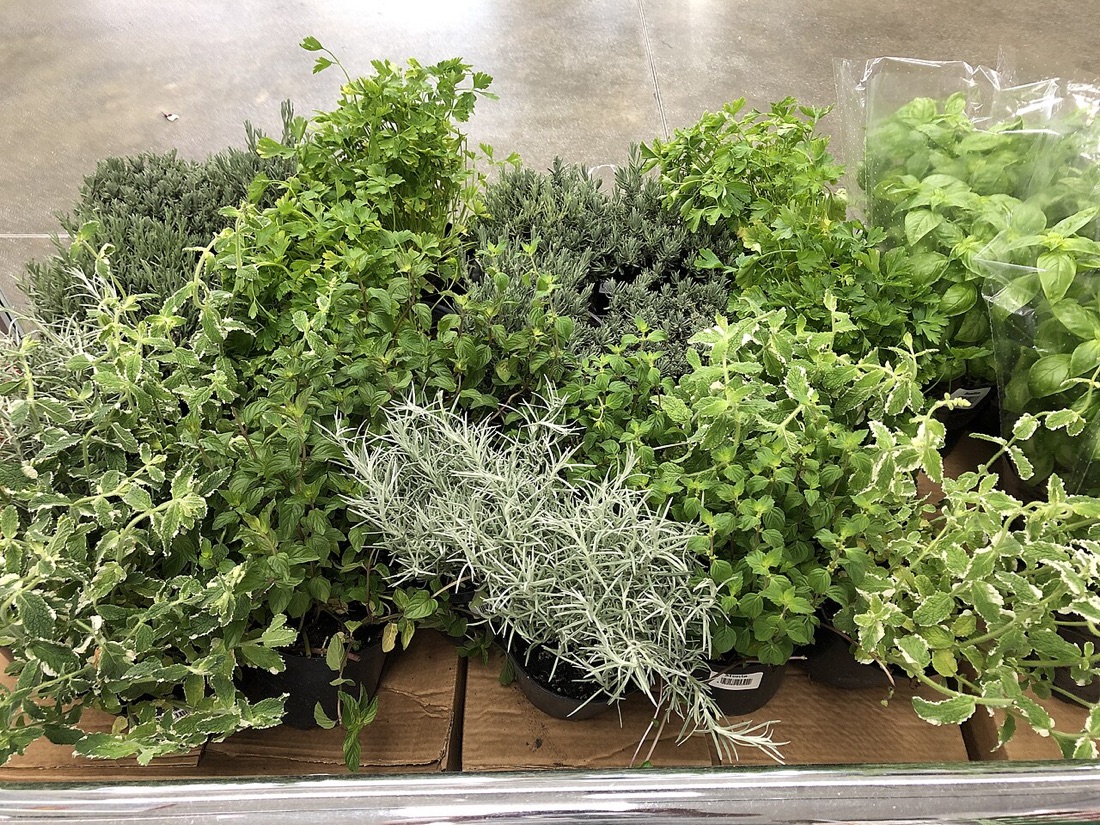
From there, children can graduate to a proper windowsill salad — a pot of cut-and-come-again lettuce leaves that you can keep picking from for weeks. Our windowsill growing guide covers the easy crops that thrive indoors, and our lettuce guide goes deeper on growing leaves that keep on giving.
And when they are ready to step outside, the whole gardening with children hub is full of quick wins and simple science to try next — from beans in a jar to giant sunflowers.
When you do fancy buying a fresh packet to keep the cress heads coming, plain garden cress is one of the cheapest seeds going.
Plant a tray with your child this afternoon, and by next weekend they will be snipping their very first home-grown crop. Few things in the garden give such a big reward for so little effort — which is exactly why cress is where so many young gardeners begin.
Key terms in this guide
- Germination
- — The moment a seed sprouts and begins to grow, triggered by the right mix of moisture, warmth and (for some seeds) light.
Frequently asked questions
How long does cress take to grow?
Can you grow cress without soil?
Keep reading
Gardening with Children: Fun Projects to Get Kids Growing
Fun, easy ways to get children gardening in the UK — quick-win crops, simple science experiments and projects that teach kids how plants really grow.
Sprouting Seeds and Microgreens on the Windowsill
How to grow sprouts and microgreens with kids in the UK — quick windowsill crops like pea shoots and mustard, ready to eat in days, with no garden needed.
How to Grow Food on a Windowsill
How to grow food on a windowsill in the UK — the best herbs, salads and microgreens for an indoor sill, plus light, watering and the right pots.