🌱 Getting Started
How to Save Your Own Seed
How to save your own vegetable seed in the UK — the easiest crops to start with, why F1 hybrids won't come true, and how to dry and store seed properly.
Some links on this page are affiliate links. If you buy through them we may earn a small commission, at no extra cost to you. We only recommend things we think are genuinely useful for home growers.
The short version
- Save only open-pollinated varieties — F1 hybrid seed won't come true, so check the packet and skip anything marked "F1".
- Start with self-pollinators — beans, peas, tomatoes and lettuce rarely cross and come true with almost no effort.
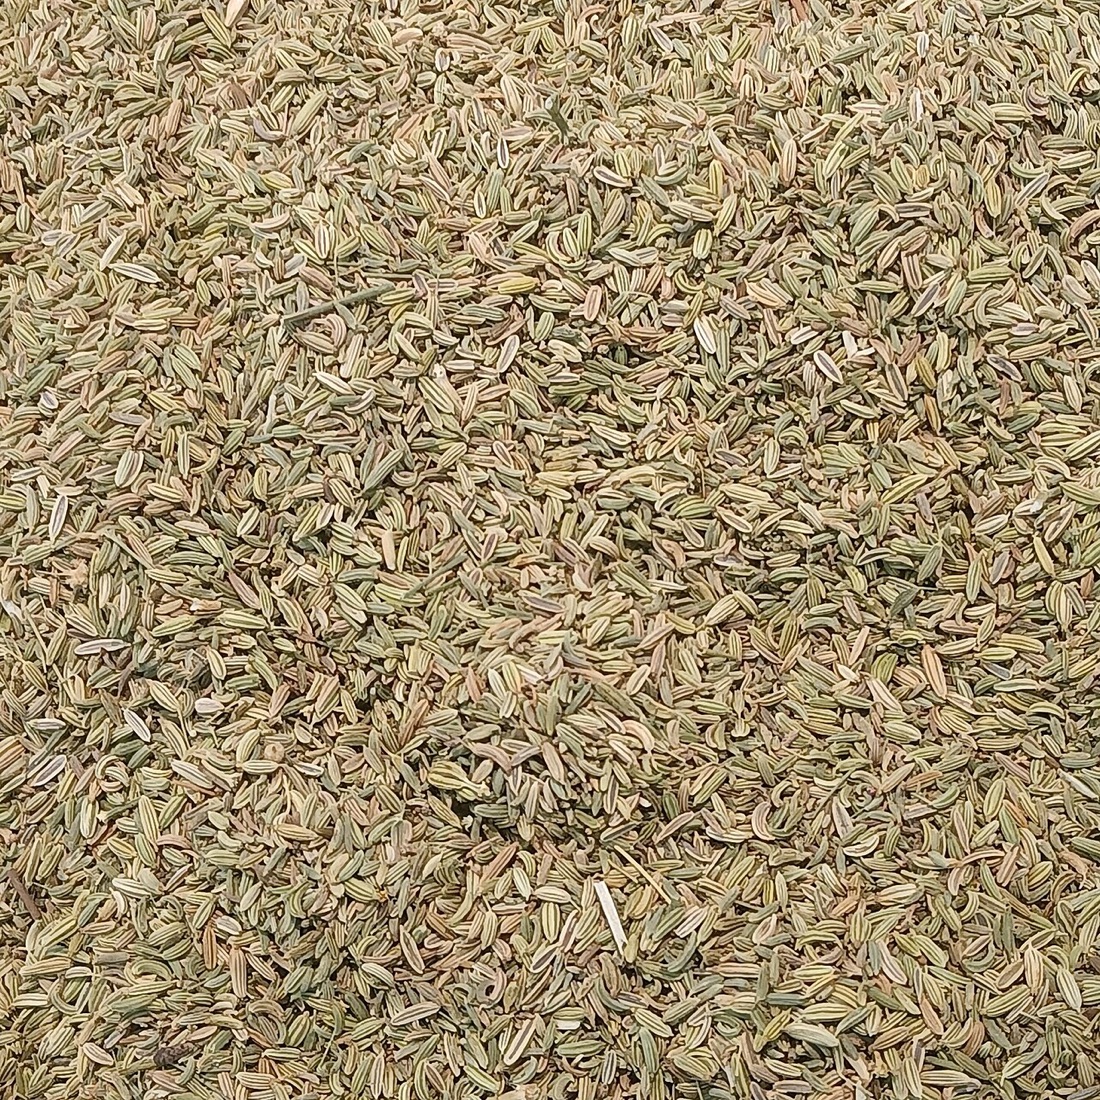
- Let seed ripen on the plant — wait until pods are papery, fruit is over-ripe or seed heads have turned brown.
- Dry it slowly and completely — a single layer somewhere warm and airy for a week or two; ferment tomato seed in water for a few days first.
- Store cool, dry, dark and labelled — paper envelopes or glass jars; never seal damp seed in plastic. Damp and heat are what kill stored seed.
- Avoid the crossing crops at first — squash, brassicas, beetroot, carrots and onions cross readily, so leave them until you're more experienced.
Saving your own seed is one of the most satisfying steps in growing your own food. Once you have done it, you stop buying packets every spring, and you start building a small living library of plants suited to your own plot. This guide covers the easiest crops to begin with, the one rule that catches everyone out, and exactly how to dry and store seed so it stays alive.
Why save seed
The most obvious reason is that it is free. A few well-grown plants will give you far more seed than you could ever sow yourself — a single ripe tomato holds dozens of seeds, and one good lettuce can scatter hundreds. After your first season you rarely need to buy those crops again.
There is a subtler reward too. When you save seed from your strongest, tastiest, earliest plants year after year, you are quietly selecting for the things that do well in your soil, your aspect and the UK's unpredictable weather. Over a few seasons you end up with plants that are genuinely adapted to your garden — something no packet can sell you.
And it is simply good fun. Watching a crop go full circle, from seed to plant to seed again, is one of the quiet pleasures of growing your own. It fits naturally into the wider rhythm of a grow-your-own year plan, where saving seed in late summer feeds straight into next spring's sowing.
Start small
You do not need to save everything. Pick one or two easy crops this year, get the drying and storing right, and add a new crop each season. That is how most seed savers build up.
Open-pollinated vs F1 — the one rule that matters
Before you save anything, check whether your variety is open-pollinated or an F1 hybrid. This is the single thing that decides whether seed saving will work.
Open-pollinated varieties are the traditional, stable kind. Save seed from them and the next generation comes true — it looks and tastes like the parent. Most heritage and "heirloom" varieties are open-pollinated, and so are plenty of ordinary catalogue varieties. The packet will usually just give a variety name, like 'Gardener's Delight' tomato or 'Cobra' French bean.
F1 hybrids are different. They are the first-generation cross of two carefully chosen parent lines, bred for vigour and uniformity. They grow brilliantly — but their seed does not come true. Sow it and you get a jumble of offspring, often weaker and more variable than the parent, occasionally throwing back to something inedible. You can save F1 seed, but you almost always end up disappointed. Look for "F1" on the packet and simply set those varieties aside for seed saving — grow them, but buy them fresh each year.
Check the packet first
If it says "F1" anywhere, do not bother saving the seed. Save only from open-pollinated (non-F1) varieties, and you will avoid the most common seed-saving letdown.
The easiest crops to start with
Some crops are made for beginners because they mostly self-pollinate — the flower fertilises itself before it even opens, so there is little risk of crossing with a neighbour. Their seed comes true with almost no effort.
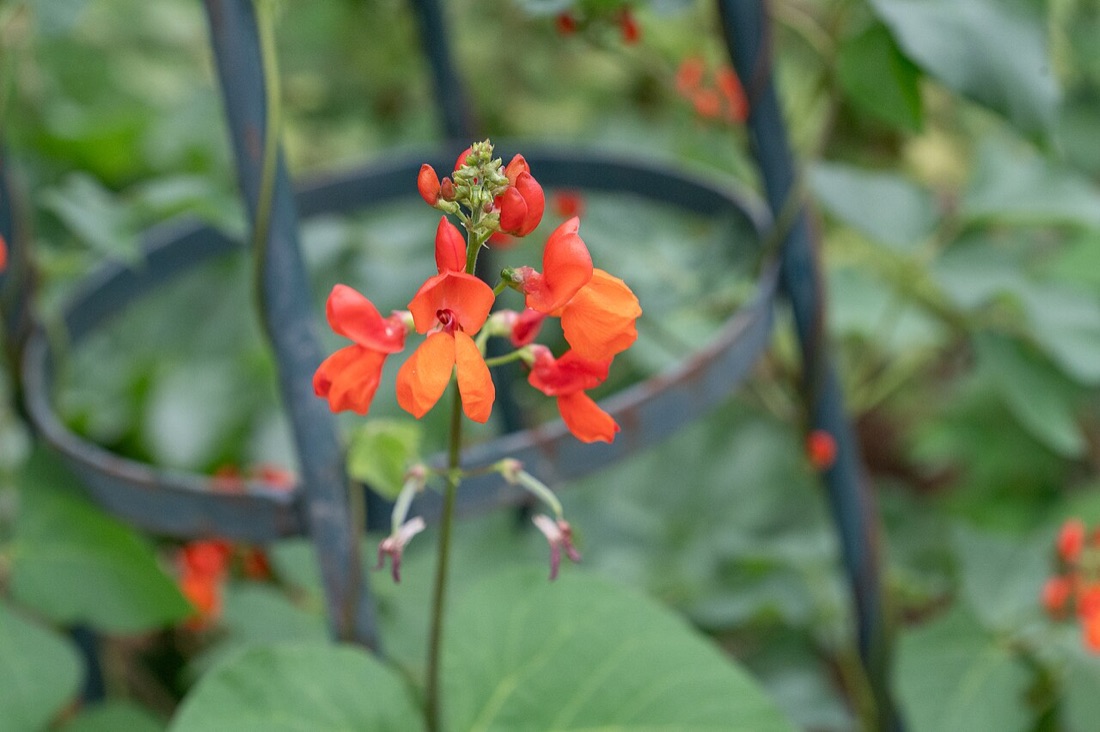
Beans and peas
Beans and peas are the classic starting point. As legumes, they self-pollinate inside the closed flower, so a French bean planted next to a runner bean will still give you true seed. They are also wonderfully easy to harvest: you simply let some pods stay on the plant.
Choose your healthiest, most productive plants and leave a few pods to swell and ripen fully instead of picking them young. They will fatten, then dry on the plant, turning papery and brown — listen for the beans rattling inside. In a wet UK autumn, pull whole plants before the first frosts and finish drying them somewhere airy under cover, like a shed or porch. Then shell out the beans, discard any that are shrivelled or discoloured, and keep the plumpest. For more on growing the crop itself, see our guides to growing beans and growing peas.
UK timing for bean seed
Leave pods to ripen on the plant from August. Aim to have them dry by late September or early October, before persistent autumn damp sets in.
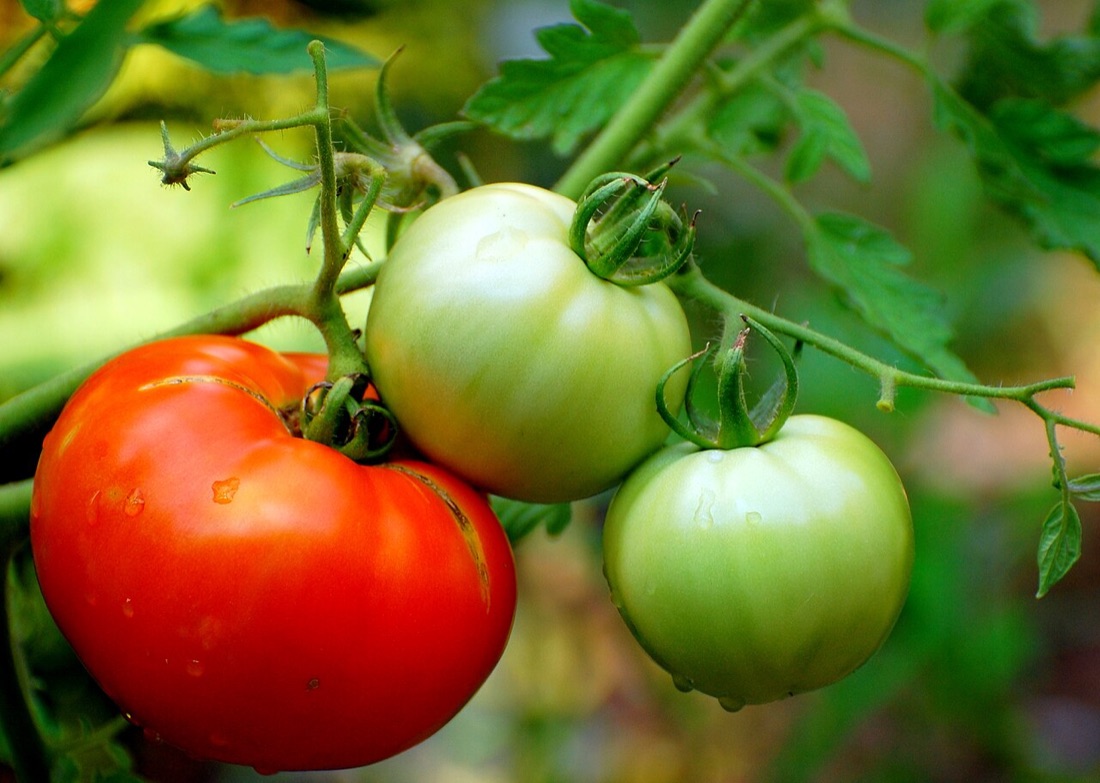
Tomatoes
Tomatoes are nearly as easy and far more rewarding, because the seed is wrapped in a gel that needs a quick clean-up. Pick a fully ripe fruit from a strong, open-pollinated plant. Squeeze the seeds and gel into a jar, add a splash of water, and leave it on the windowsill for two or three days. It will ferment and grow a slight scummy film — this is normal, and it breaks down the gel that otherwise stops the seed germinating.
Once a layer of clean seed has sunk to the bottom, pour off the pulp and floating duds, rinse the good seed in a sieve, and spread it out to dry on a plate or piece of greaseproof paper. Do not use kitchen roll — the seeds stick fast. Within a week or so you will have clean, dry tomato seed that stays viable for years.
Lettuce
Lettuce self-pollinates too, so it is reliable, but it tests your patience. You have to let a plant bolt — run up to flower instead of forming a tidy head — which feels counter-intuitive after a season spent stopping exactly that. Leave one good plant to send up its tall flower stalk, and small yellow flowers will appear, followed by fluffy, dandelion-like seed heads.
The catch is that lettuce ripens unevenly over a few weeks. The simplest method is to shake the ripe heads into a paper bag every couple of days, or cut the whole stalk when most of the fluff has formed and dry it indoors before rubbing the seed out. A single lettuce gives you hundreds of seeds — far more than you will ever need.
Avoiding crossing
The self-pollinators above rarely cross, which is exactly why they are the beginner's choice. Trouble starts with crops that rely on insects or wind to set seed — squash, courgettes, brassicas like kale and cabbage, beetroot, carrots and onions. These cross readily, both with other varieties and, in the case of brassicas and carrots, with wild relatives growing in the hedgerow.
If you save seed from a courgette grown near a pumpkin, the bees will likely have mixed them, and next year's fruit is anyone's guess. Many of these crops are also biennial — they only flower and set seed in their second year — which adds another layer of effort. For your first few seasons, stick to the self-pollinating crops and leave the crossing ones until you are ready to learn about isolation distances, bagging flowers or hand-pollinating.
Harvesting, drying and storing seed properly
Whatever the crop, the principles are the same: harvest seed when it is fully ripe, dry it thoroughly, and store it cool, dry, dark and labelled.
Let it ripen on the plant. Seed taken too early will not have finished maturing and may never germinate. Wait until pods are papery, fruit is over-ripe, or seed heads have turned brown and dry.
Dry it slowly and completely. Spread seed in a single layer on a plate, tray or piece of greaseproof paper somewhere warm, airy and out of direct sun. A windowsill, airing cupboard or spare room is ideal. Give it a week or two — seed that feels dry on the outside can still hold moisture, and damp seed rots or goes mouldy in storage. A reliable test: a properly dry bean should be hard enough that it shatters rather than squashes if you hit it.
Store it cool, dry and dark. Paper envelopes or small glass jars are perfect. Avoid sealing slightly damp seed in plastic, where any trapped moisture causes mould. Keep the containers somewhere cold and stable — a tin in an unheated room, or the bottom of the fridge in an airtight jar. Heat and damp are the two things that kill stored seed fastest.
Label everything, immediately. Seed is impossible to identify once dry, and "I'll remember" never works. Write the crop, variety and year on every envelope as you fill it. You think you will recall it. You will not.
A pinch of dry rice
Adding a teaspoon of dried rice or a small silica sachet to a storage jar helps soak up stray moisture and keeps seed viable for longer — handy in a damp UK shed.
Once you have your seed dried and labelled, a few simple tools make the rest of the year easier. After explaining all that, here is the modest kit worth having to hand.
Seed viability and swaps
Saved seed does not last forever, and different crops keep for very different lengths of time. As a rough UK guide: tomatoes and beans stay good for four to six years, peas for around three, and lettuce for three to four. Some, like parsnip and onion, are notoriously short-lived and are best sown fresh each year. When in doubt, do a quick germination test — fold ten seeds into a damp piece of kitchen roll, keep it warm, and see how many sprout after a week or two. If only half come up, sow twice as thickly.
The lovely thing about saving seed is that you almost always end up with more than you can use. That surplus is the start of swapping. Local seed swaps, often called Seedy Sundays, run across the UK in late winter, and they are a brilliant way to pick up regional, well-adapted varieties for free — and to pass on your own. Sharing seed is how heritage varieties survive, and it costs you nothing but a few spare envelopes.
From here, fold seed saving into the bigger picture. It sits naturally alongside successional sowing and storing your harvest as part of growing more for less, and it all ties back into your grow-your-own year plan. Save one crop well this year, and you will be hooked.
Key terms in this guide
- Legume
- — A member of the pea and bean family that fixes nitrogen from the air through its roots, enriching the soil for the crops that follow.
Frequently asked questions
Which seeds are easiest to save?
Can you save seed from F1 hybrid plants?
Keep reading

Grow Your Own: A Beginner's Year Plan
A beginner's year plan for growing your own food in the UK — what to grow, how to plan a productive plot, and a realistic path to a kitchen full of homegrown veg.
How to Grow Beans (Runner & French) at Home in the UK
Grow runner beans and French beans in the UK — sowing times, supports, watering, and getting a heavy crop from May to October in any UK garden or pot.
How to Grow Tomatoes at Home in the UK
Beginner's guide to growing tomatoes in the UK — sowing, potting on, planting out, training cordons, watering, high-potash feeding and a heavy harvest.