🌱 Getting Started
Upcycled Containers for Growing Food
Grow food in upcycled containers in the UK — buckets, crates, tins and old sinks — plus the safety checks for which recycled containers are food-safe.
Part of: Gardening for Free: Reuse and Recycle in the Garden
Some links on this page are affiliate links. If you buy through them we may earn a small commission, at no extra cost to you. We only recommend things we think are genuinely useful for home growers.
The short version
- Almost anything works — builders buckets, storage boxes, old compost bags, Belfast sinks, tins and dustbins all grow food well.
- Drainage is the one rule — every container needs several holes in the base; overwatering in waterlogged pots kills more plants than drought.
- Skip the crocks — no need for gravel at the bottom; it can slow drainage. Just cover big holes with mesh and fill with compost.
- Safety first — never use anything that held chemicals, oil, fuel or paint; avoid tyres and unknown plastics for edibles, and only use HT-stamped pallets, never MB.
- Use peat-free container compost, not garden soil — and feed weekly from about six weeks after planting, as nutrients wash out fast.
- Bigger is easier — large tubs dry out more slowly; match pot size to the crop, from shallow tins for salad to 20–40 litre tubs for courgettes and potatoes.
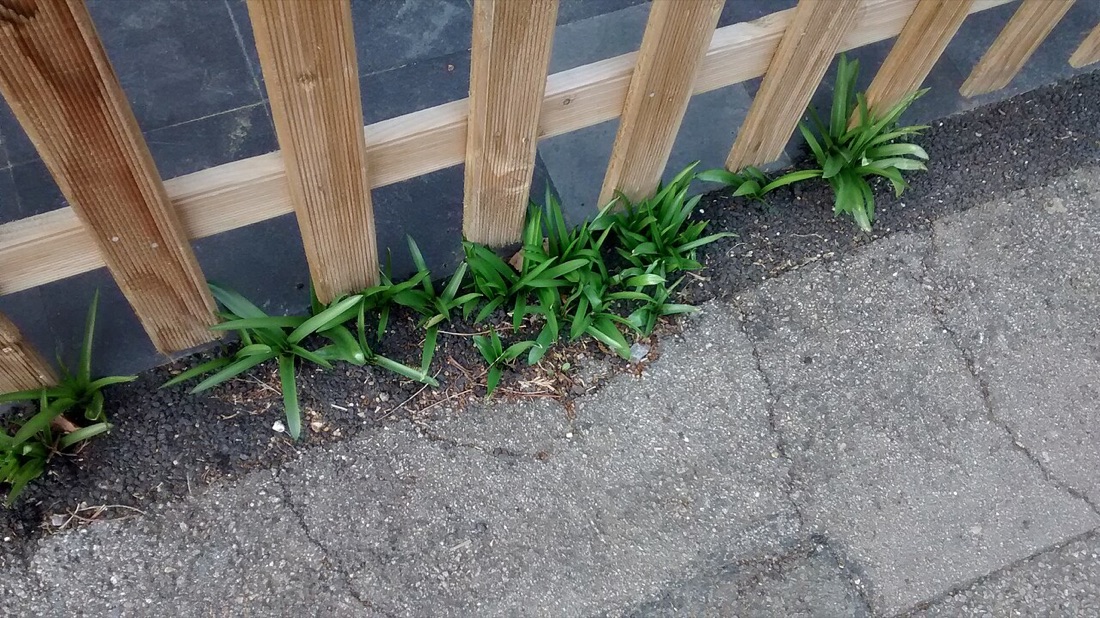
Here is the freeing truth at the heart of container growing: almost anything that holds compost and can drain will grow food. You do not need a shed full of matching terracotta or a delivery of branded planters. A builders bucket, a cracked storage box, a tin can — give it some drainage and the right compost and a plant will happily get on with growing. This is the thriftiest, most satisfying corner of the garden, and it is a big part of how you reuse and recycle around the garden instead of buying everything new.
The catch is a short one, and it is mostly about safety: a few containers genuinely are not suitable for food, and it pays to know which before you fill them. This guide runs through the best free containers to grab, the one rule you cannot skip, the handful of things to avoid, and how to make it all look good rather than like a fly-tip.
Great free containers to grab
Once you start looking, potential containers are everywhere. Here are the ones that actually work well in a UK garden, roughly from "grab it today" to "lovely if you can find one".
Builders buckets. The big flexible tub-trugs from any UK builders merchant or DIY shop are the workhorse of cheap container growing. They are deep, tough, frost-hardy and cost very little even bought new. Drill some holes and they will grow potatoes, courgettes or a whole salad bowl.
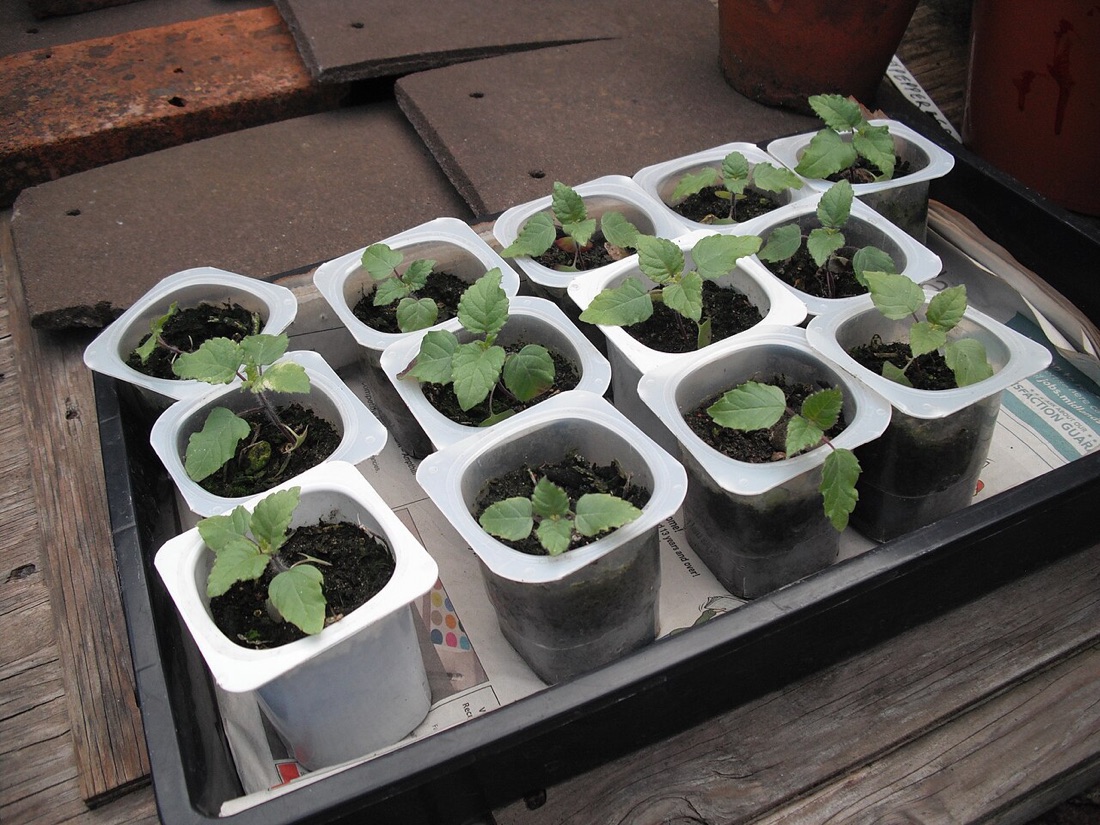
Plastic storage boxes. That cracked under-bed storage box is perfect. Shallow ones make brilliant salad and herb trays; deeper ones suit roots and beans. The lids, drilled, make handy drip trays.
Old compost bags and rubble sacks. A used compost bag, rolled down at the top and stood up, becomes an instant grow bag — ideal for one potato plant or a courgette. The same trick lines an open crate beautifully: drop an old compost bag inside a wooden or plastic crate, pierce the base, and the bag holds the compost while the crate gives it structure and looks.
Belfast and butler sinks. A reclaimed ceramic sink is the showpiece of the upcycled garden. It already has a drainage hole (the old plughole), it is heavy and stable, and it holds heat. They turn up at salvage yards, on Facebook Marketplace and at the tip's reuse shop. Cover the plughole with a piece of broken pot or mesh so compost does not wash out.
Tin cans. Washed-out catering tins and large food tins make charming little pots for herbs, salad leaves and single strawberry plants. They will rust over a season or two, which most people find rather lovely. Punch holes in the base with a hammer and a nail.
Dustbins and water butts. An old galvanised or plastic dustbin is deep enough for a serious potato crop, or a small fruiting shrub. Just be sure it never held ash that was still warm, oily rags or anything chemical.
Wooden wine crates. Lined with an old compost bag (with a few holes for drainage), a wine crate makes a smart, shallow planter for cut-and-come-again salads or strawberries. Untreated wood will rot eventually, but you will get a few good seasons first.
Colanders and old saucepans. A colander is, conveniently, pre-drilled. Lined with a little moss or an old hanging-basket liner, it makes a sweet hanging planter for trailing herbs or strawberries.
Where to find free containers
Try your local tip's reuse shop, Facebook Marketplace, Freecycle and Olio, and ask at cafés and restaurants for catering tins. Builders merchants often sell sturdy tub-trugs for a couple of pounds — cheaper and tougher than many "garden" pots.
The one essential rule: drainage holes
If you remember nothing else, remember this. Plant roots need air as well as water, and a container with no escape for excess water becomes a stagnant bog. Roots rot, leaves yellow, and the plant slowly drowns — and overwatering of this kind kills far more container plants than drought ever does.
So every container needs drainage holes. As a rough guide, aim for several holes across the base — a 30cm pot wants four or five holes around 10–12mm across; a big tub wants more. Too few large plants sit in water; you can rarely have too many.
How you make the holes depends on the material:
- Plastic — a cordless drill with a wood or HSS bit goes through easily. For thin plastic you can heat an old screwdriver and push it through, but drilling is neater.
- Metal tins and bins — a hammer and a stout nail, working from the inside out, or a metal drill bit. Wear gloves; the punched edges are sharp.
- Ceramic sinks — these usually already have a plughole, so you rarely need to drill. If you must, use a diamond-tipped bit and go slowly with water to keep it cool.
- Wood — drill freely; wood is forgiving.
You do not, by the way, need a layer of "crocks" or gravel in the bottom. Garden lore insists on it, but trials have shown a gravel layer can actually slow drainage by creating a perched water table. A piece of broken pot or some mesh over a large hole to stop compost washing out is plenty — then fill with compost all the way down.
No holes, no food
Decorative containers sold without drainage (and many upcycled finds) will drown your plants. Either add holes or use that container only as an outer "cache-pot" with a properly drained pot hidden inside it.
Safety: what to avoid
This is the part worth slowing down for. Most containers are perfectly fine, but a few can pass unwanted compounds into the soil and, potentially, into the food you grow. When in doubt, keep the container for flowers and use something you trust for edibles.
Anything that held chemicals, oil, fuel or paint. This is the firm one. Old paint tins, oil drums, fuel cans, containers that held weedkiller, solvents, cleaning products or industrial chemicals — do not use them for food, however well you scrub. Residues cling to plastic and metal and you cannot be sure they are gone. The same caution applies to drums with no label at all: if you do not know what was in it, do not grow food in it.
Tyres — the leaching debate. Old tyres are a classic upcycling suggestion, especially for potatoes, and you will see them used everywhere. But it is genuinely debated. Tyres contain a cocktail of compounds — zinc, and various hydrocarbons among them — and there is real evidence that these can leach out as the rubber degrades in sun and weather. Some growers are relaxed about it; many deliberately avoid tyres for anything they will eat. Our honest position: for food crops, either skip tyres or, if you love the look, line them thoroughly so the compost never touches the rubber. For purely ornamental planting, the risk matters far less.
Unknown or flimsy plastics that degrade in heat. Food-grade plastics (the kind used for buckets, storage boxes and compost bags) are stable and fine. Thin, brittle or unmarked plastics that go chalky and crack in sunlight are best avoided for edibles — as they break down they can shed particles into the compost. A sturdy builders bucket is a safer bet than a mystery container that is already perishing.
Pressure-treated or painted timber. When building or lining wooden containers, avoid old pressure-treated timber where you cannot identify the treatment, and steer clear of timber coated in old paint (which, on anything pre-1970s, may contain lead). If you are reusing pallets, only use ones stamped HT (heat-treated) — never ones stamped MB, which were treated with methyl bromide, a chemical fumigant. Plain, untreated wood is the safe default; it simply rots a little sooner, which is a fair trade.
A simple rule of thumb
If a container held food or water, it is almost certainly fine. If it held chemicals, fuel or oil, it is out. If you have no idea what it held, use it for flowers, not food.
Matching container size to the crop
A drained, food-safe container still has to be the right size, or the plant will struggle however good your intentions. The general rule: the bigger the container, the easier your life, because a larger volume of compost holds more water and dries out far more slowly — a real advantage in a hot UK summer when small pots can need watering twice a day.
As a rough starting point:
- Salad leaves, radish, herbs — happy in shallow trays and small tins, 10–15cm deep.
- Lettuce, spring onions, dwarf beans, strawberries — a 5–10 litre bucket or storage box each.
- Courgettes, tomatoes, potatoes, climbing beans — go big: a 20–40 litre tub, builders bucket or dustbin per plant.
A few crops are particularly forgiving in upcycled pots and a good place to start — lettuce and other salad leaves shrug off cramped roots, while strawberries positively enjoy a tin or a colander. For the full breakdown of which crop wants which pot, see our guide to growing food in containers, and if you are brand new to all this, the easiest crops for beginners are forgiving of the odd missed watering.
Compost and feeding in containers
Whatever you grow in, fill upcycled containers with a good multipurpose, peat-free compost — ideally one labelled for containers or with added John Innes for body. Do not fill them with soil dug straight from the garden: it compacts in a pot, drains poorly and can bring weeds and pests with it. Your own homemade compost is wonderful mixed in, but as a soil improver rather than the whole filling.
Container compost has a finite store of nutrients, and frequent watering washes them out faster than in open ground. So from about six weeks after planting, most hungry crops will want feeding. A balanced liquid feed once a week through summer keeps things cropping; tomatoes and other fruiting crops appreciate a high-potash tomato feed once they flower. If you would rather make your own, comfrey and nettle teas, and the liquid from a wormery, are excellent and free — we cover those in homemade plant feeds.
This is also where good soil habits pay off. Even in pots, the principles in improving your soil hold true: feed the compost with organic matter, do not let it dry to dust, and your plants will reward you.
Making upcycled pots look good
There is a difference between "characterful" and "scrapyard", and a little effort tips it the right way. The good news is that grouping is most of the trick: a cluster of mismatched containers of varying heights, all planted up and standing together, reads as a deliberate display in a way that a single lonely bucket never does. Stand them on bricks or pot feet to lift them off the ground, improve drainage and stop them rotting or staining the patio.
If a container is a touch ugly, a coat of exterior paint or wood stain transforms it — just use it on the outside only, and avoid getting paint inside where roots will grow. Galvanised tubs and tins look smart left plain and allowed to weather; wooden crates take a Scandinavian-style pale stain beautifully. Tuck a few trailing plants — nasturtiums are both edible and cheerful — to soften hard rims and hide any rough edges.
For more weekend projects in this spirit, from raised beds to plant supports, see our round-up of DIY garden projects. And remember the bigger picture: every container you rescue is one less thing bought new and one less thing in landfill, which is exactly what reusing and recycling around the garden is all about. Start with one bucket and a packet of salad seed — you will be surprised how quickly the collection grows.
Key terms in this guide
- Compost
- — Decomposed organic matter — kitchen and garden waste broken down into a dark, crumbly, sweet-smelling material that feeds soil and plants.
Frequently asked questions
Is it safe to grow vegetables in recycled containers?
Can you grow vegetables in old tyres?
Keep reading
Gardening for Free: Reuse and Recycle in the Garden
How to garden for almost nothing in the UK — reuse household waste, make your own pots, feeds and compost, and cut the cost of growing your own food.
Growing Food in Containers & Small Spaces (UK Guide)
No garden? No problem. Grow vegetables, herbs and fruit in pots, on balconies and windowsills — a UK beginner's guide to container growing.
DIY Garden Projects from Things You'd Throw Away
Easy DIY garden projects from household waste in the UK — plastic-bottle cloches and drip feeders, pallet planters, bird scarers and more, all for free.