🌿 Herbs
How to Divide Chives for More Plants
How to divide chives in the UK — split a tired clump into several vigorous new plants for free, keeping your chives healthy and productive year after year.
Part of: How to Grow Chives at Home in the UK
Some links on this page are affiliate links. If you buy through them we may earn a small commission, at no extra cost to you. We only recommend things we think are genuinely useful for home growers.
The short version
- When — divide in early spring (March–April) as shoots appear, or early autumn (September–October) after a cut-back; avoid mid-summer and deep winter.
- How often — every two to three years, once the clump looks tight and tussocky and the centre has gone bare.
- The method — water first, lift the clump, pull it into bundles of six to ten stems, trim the tops to 5–8cm, then replant the same day.
- Spacing — set bundles 20–25cm apart in the ground, or one bundle per 1-litre pot in peat-free compost.
- Key care step — water in well and keep lightly moist for two to three weeks, and hold off harvesting until fresh growth appears.
- Main pitfall — don't let bare roots dry out; keep spare bundles shaded in a bucket with a splash of water until you plant them.
Dividing is the single most useful thing you can do for chives. Splitting one tired clump into several smaller ones keeps the plant vigorous, encourages fresh growth, and hands you a tray of free plants for nothing more than ten minutes' work. It is honestly the easiest propagation job in the whole herb garden — no seed sowing, no rooting hormone, no waiting around.
If you have grown chives for a couple of seasons, you already have everything you need. This guide walks through why clumps need splitting, the best time of year to do it in the UK, and exactly how to lift, separate and replant. For everything else about growing the herb, see the full guide to growing chives.
Why divide chives at all
Chives are a perennial — they come back every year from the same rootstock rather than dying off after one season. That is great news, but it has a catch. Each spring the plant throws up more little bulblets, the clump packs ever more tightly together, and after two or three years it becomes a dense, congested cushion of crowded roots.
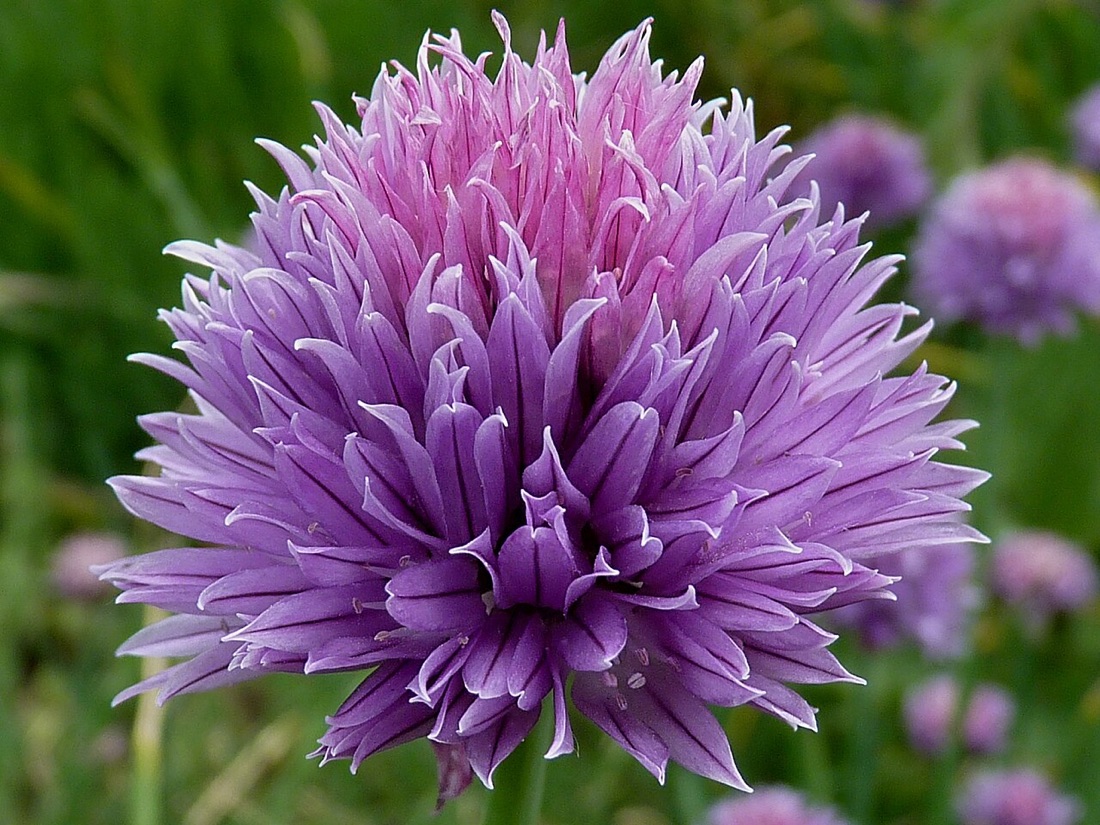
A congested clump struggles. The bulblets in the middle compete with each other for water and nutrients, the centre often dies out and goes woody or bare, and the whole plant loses vigour. You will notice thinner stems, less of that fresh oniony growth, and far fewer of the pretty purple flowers that the bees love.
Dividing fixes all of this in one go. By lifting the clump and pulling it apart, you give every section room to breathe, fresh compost to root into, and the space to bulk up again. The plant rejuvenates, and you turn one ageing clump into four, five or six healthy new ones. For a beginner building up a herb patch — or filling pots and windowsills — it is the cheapest way to get more plants.
A free plant every time
Every division is a fully grown plant from day one. Unlike sowing from seed, there is no germination wait and no fiddly seedlings to nurse on — a divided clump is ready to crop within weeks.
When to divide chives in the UK
There are two good windows in the UK gardening year, and both work well.
Early spring is the classic time — roughly March into April, just as you see the first slim green shoots pushing through. The plant is waking up and full of energy, the soil is warming, and the new clumps have the entire growing season ahead of them to settle in and bulk up. This is the option to choose if you are at all unsure.
Autumn — September into October — is the other good window, once the main flush of summer growth is over and you have cut the plant back hard. Divide now and the clumps have time to put down roots while the soil is still warm, ready to romp away the following spring. Just avoid leaving it so late that hard frosts arrive before the roots have re-established.
What you want to avoid is dividing in the heat of high summer, when the plant is in full growth or flower. Lifting it then puts it under real stress, and any divisions you make will sulk in dry, warm soil. If a clump is flowering, either wait or shear off the flower stems first.
Quick UK timing
Best: early spring (March–April) as growth begins, or early autumn (September–October) after a cut-back. Avoid: mid-summer, and the depths of winter when the ground is cold and wet.
How often? Every two to three years is about right. You will usually feel it is due — the clump looks tight and tussocky, the centre is bare, and cropping has tailed off. Dividing on that rhythm keeps your chives permanently productive.
How to divide chives, step by step
The whole job takes about ten minutes per clump. Have a few small pots or a prepared patch of ground ready before you start, plus a watering can.
1. Water the clump first. A day or two before, or at least an hour before lifting, give the plant a good drink. Moist roots come apart far more cleanly than dry, brittle ones and the divisions transplant with less shock.
2. Lift the whole clump. Push a hand fork or border fork in a few centimetres out from the edge of the clump, all the way round, then lever gently to ease the rootball out of the ground. In a pot, simply tip the plant out. Don't worry about the stems — you are after the roots and bulblets underneath.
3. Knock off the loose soil. Tease away enough soil or old compost with your fingers so you can see what you are doing. You will spot that the clump is made up of dozens of slim little bulblets, each with its own roots and stems — like a tightly packed bunch of tiny spring onions.
4. Split it into small bundles. This is the satisfying bit. Pull the clump apart with your fingers into smaller sections, each with a generous handful of bulblets — somewhere between six and ten stems per division is ideal. Smaller pieces will grow, but a decent-sized bundle establishes faster and gives you something to crop sooner. If the clump is old and woody in the middle, slice through it with a knife or two hand forks back-to-back, and discard any dead, hollow central section.
5. Trim the tops. Cut the green stems back to about 5–8cm with scissors. This takes the strain off the roots while they re-establish, so the plant can put its energy into rooting rather than supporting a lot of top growth.
6. Replant or pot up straight away. Don't let the divisions dry out — get them back into the ground or into pots the same day. In open ground, plant each bundle at the same depth it was growing before, firm gently, and space them about 20–25cm apart. In pots, use a multipurpose peat-free compost and one bundle per 1-litre pot or larger.
Don't let roots dry out
Bare chive roots dislike sitting around in the sun and wind. If you are dividing several clumps, keep the spare bundles in the shade — pop them in a bucket with a splash of water — until you are ready to plant each one.
Aftercare — settling the divisions in
The divisions need a little attention for the first few weeks, then they look after themselves.
Water them in well. Give each new clump a thorough soak immediately after planting to settle the soil around the roots and remove air pockets. Keep the compost or soil lightly moist for the next two to three weeks while the roots take hold — never waterlogged, but never bone dry either.
Keep them out of harsh sun at first. Spring and autumn light is gentle enough in the UK, but if you happen to hit a warm, bright spell, a little shade for the first few days helps the divisions settle without wilting.
Hold off on harvesting. Resist snipping the new clumps for the first few weeks. Let them establish, send up fresh growth and bulk up before you start cropping. By the time you see strong new green stems, they are away and you can pick as normal.
Don't feed heavily. Chives are not hungry plants and fresh compost gives them plenty to get going. A clump in the ground will be perfectly happy; a potted division benefits from a weak liquid feed once a month through summer, no more. If you are improving the bed before replanting, a little well-rotted home-made compost worked into the soil is all they need.
What to do with all your new plants
The best part of dividing is suddenly having more chives than you started with. Here is where they go.
Pot them up for the windowsill or doorstep. A division settles brilliantly into a pot, giving you a clump of chives within easy snipping reach of the kitchen. Chives are one of the most forgiving herbs for container life — see growing food in containers for compost, pot size and watering, and windowsill growing if you want them just inside the back door.
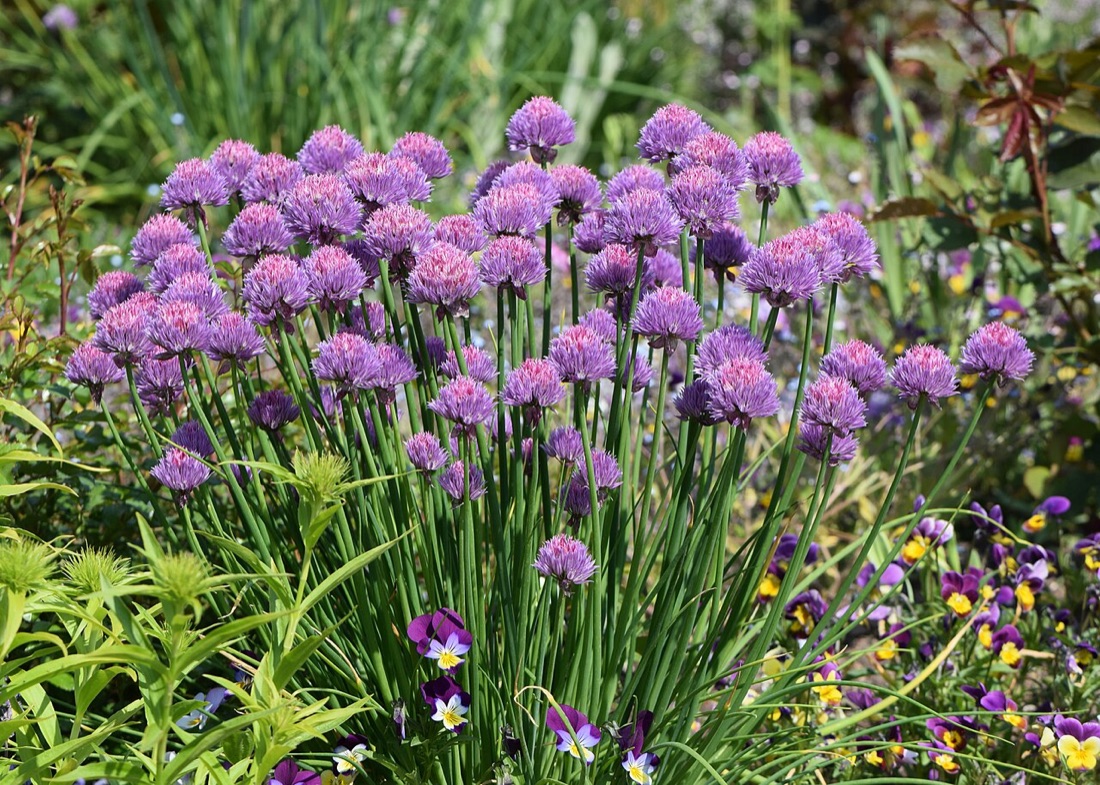
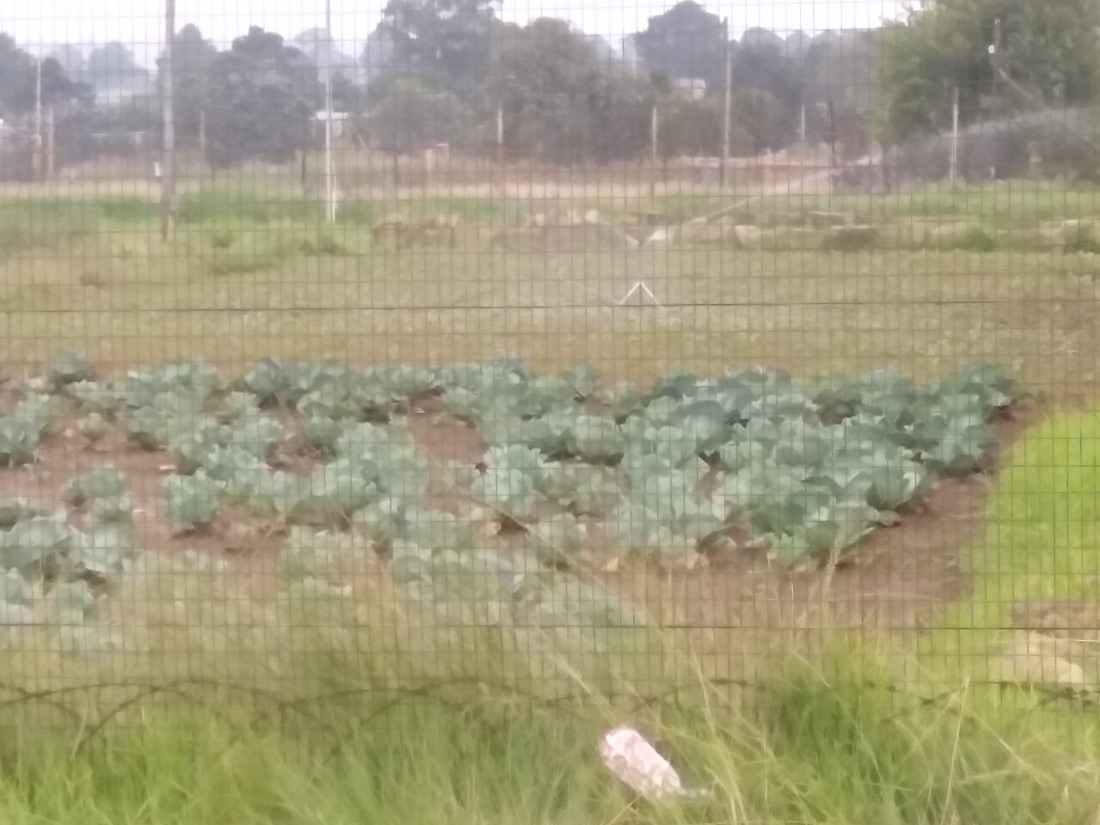
Spread them around the garden. Plant a few clumps among your vegetables — chives are good companions and their flowers are excellent pollinator plants, pulling in bees and hoverflies that earn their keep elsewhere on the plot.
Give them away. A potted-up division makes a genuinely lovely, useful gift for a fellow gardener, a new neighbour, or anyone you are nudging towards growing their own. It costs you nothing and it is one of the easiest crops for a beginner to keep alive.
Get children involved. Pulling a clump apart is messy, tactile and instantly rewarding — perfect for getting kids growing. Let them do the splitting and the potting up, then watch the divisions sprout.
If you fancy a few new plants in a different colour or flavour first, garlic chives and other forms are easy to start from seed alongside the divisions you already have.
That is the whole job. One tired clump, ten minutes, and a tray of free, vigorous plants — repeated every two or three years, it keeps your chives healthy indefinitely. For sowing, harvesting, the flowers and everything else, head back to the main chives guide.
Key terms in this guide
- Perennial
- — A plant that lives for several years, regrowing each season — unlike annuals, which grow, set seed and die in a single year.
Frequently asked questions
When should you divide chives?
How often do chives need dividing?
Keep reading
How to Grow Chives at Home in the UK
Grow chives in the UK — an easy, hardy perennial herb with edible flowers, perfect for beds, pots and windowsills, with tips on dividing and harvesting.
Growing Food in Containers & Small Spaces (UK Guide)
No garden? No problem. Grow vegetables, herbs and fruit in pots, on balconies and windowsills — a UK beginner's guide to container growing.
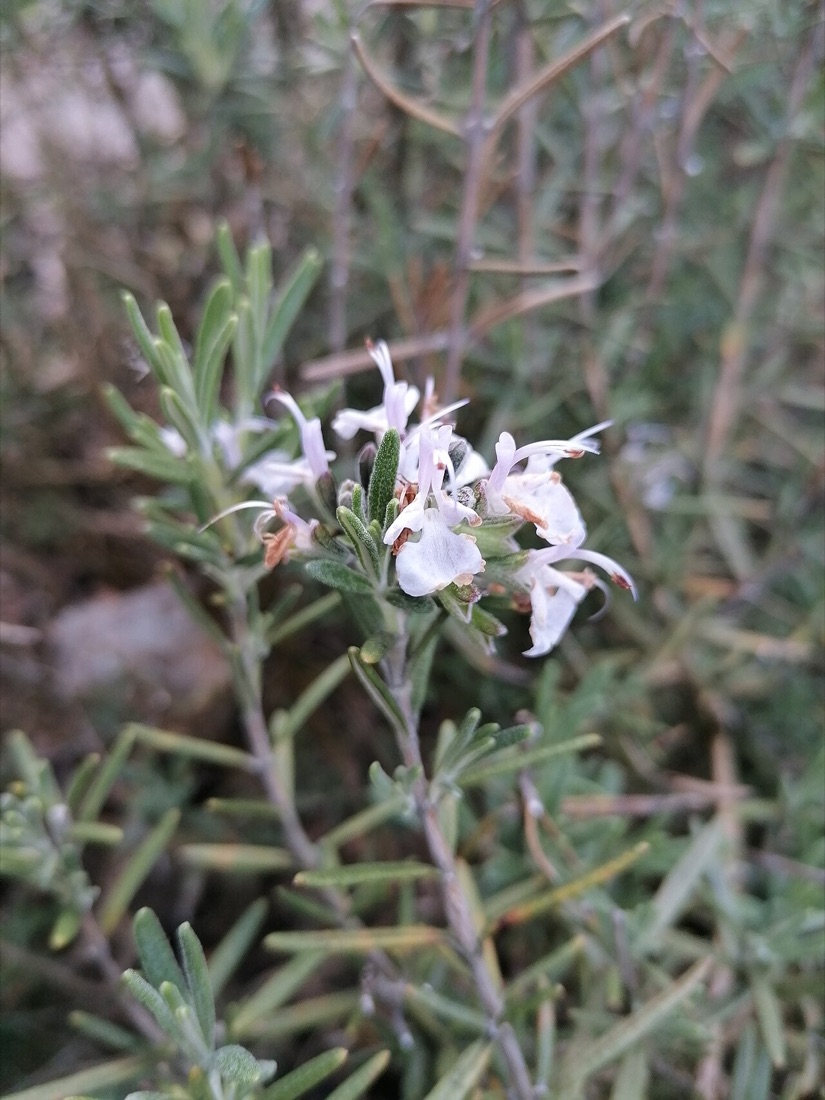
How to Grow Rosemary from Cuttings
How to take rosemary cuttings in the UK — turn one plant into many for free, with a simple step-by-step method that works on a windowsill or in the garden.