🌱 Getting Started
How to Make Leaf Mould
How to make leaf mould in the UK — turn fallen autumn leaves into a free soil improver and seed compost, using just a bin bag or a simple wire cage.
Part of: How to Make Compost at Home
Some links on this page are affiliate links. If you buy through them we may earn a small commission, at no extra cost to you. We only recommend things we think are genuinely useful for home growers.
The short version
- Gather leaves — rake up fallen leaves from October to early December; pick thin ones (oak, beech, hornbeam) over thick, waxy ones.
- Two methods — stuff damp leaves into a holed bin bag for small gardens, or build a simple chicken-wire cage for big piles.
- Keep it damp, then wait — no turning or feeding; just check it hasn't dried out over summer and add water if it has.
- Timing — rough mulch in about a year, fine crumbly seed compost in about two; shredding the leaves first speeds it up.
- It's a conditioner, not a feed — leaf mould improves soil structure and water-holding but has few nutrients, so don't expect it to feed plants.
- Don't dump it in the compost bin — a glut of pure leaves just sits there cold; keep them in their own pile for the fungi.
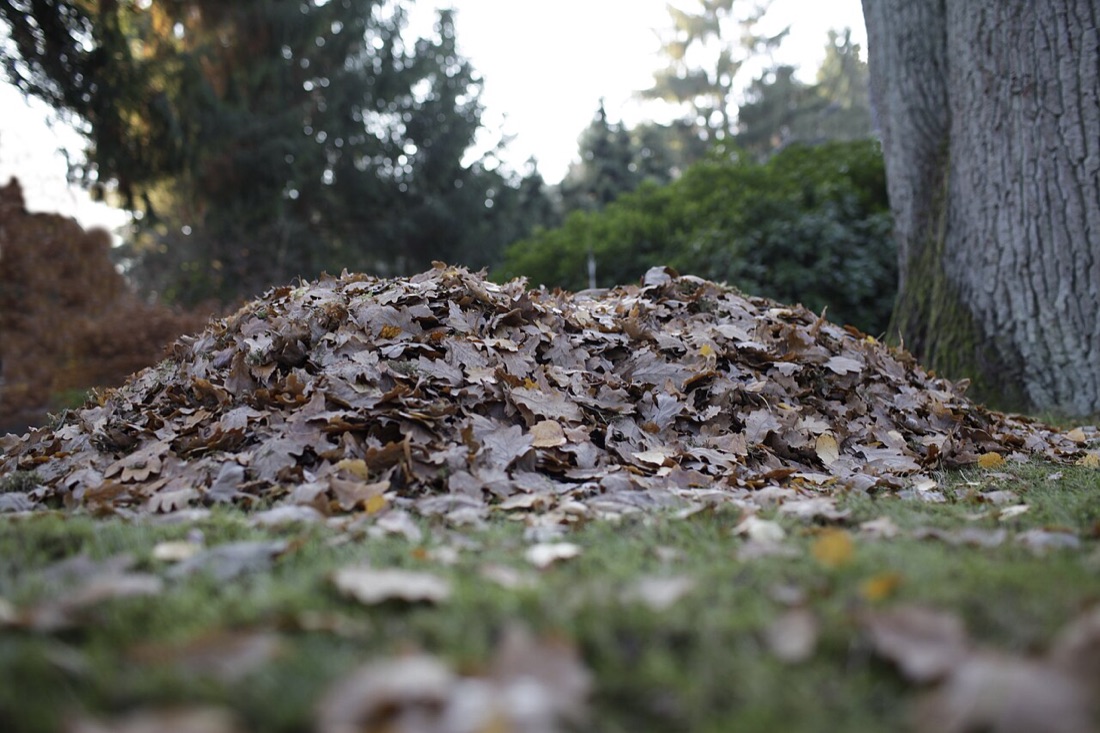
Every autumn, the trees hand you a free soil improver and you almost certainly rake most of it into a bag for the council. Pile those fallen leaves up instead, keep them damp, and walk away — a year or two later you have leaf mould: dark, crumbly, sweet-smelling stuff that gardeners pay good money for. It is one of the easiest things in this whole site to make, because the recipe is mostly waiting.
This guide covers what leaf mould actually is, which leaves to gather, two foolproof methods (a bin bag or a simple cage), how to know when it is ready, and what to do with it.
Quick UK timing
Gather leaves from October to early December, as they fall and pile up. Start a batch now and it will be ready as a rough mulch by next autumn, or as fine seed compost the autumn after that.
What leaf mould is — and why it differs from compost
Leaf mould is simply decomposed leaves and nothing else. It looks a lot like dark, crumbly compost, but it is made by a completely different process, and that difference explains everything about how you handle it.
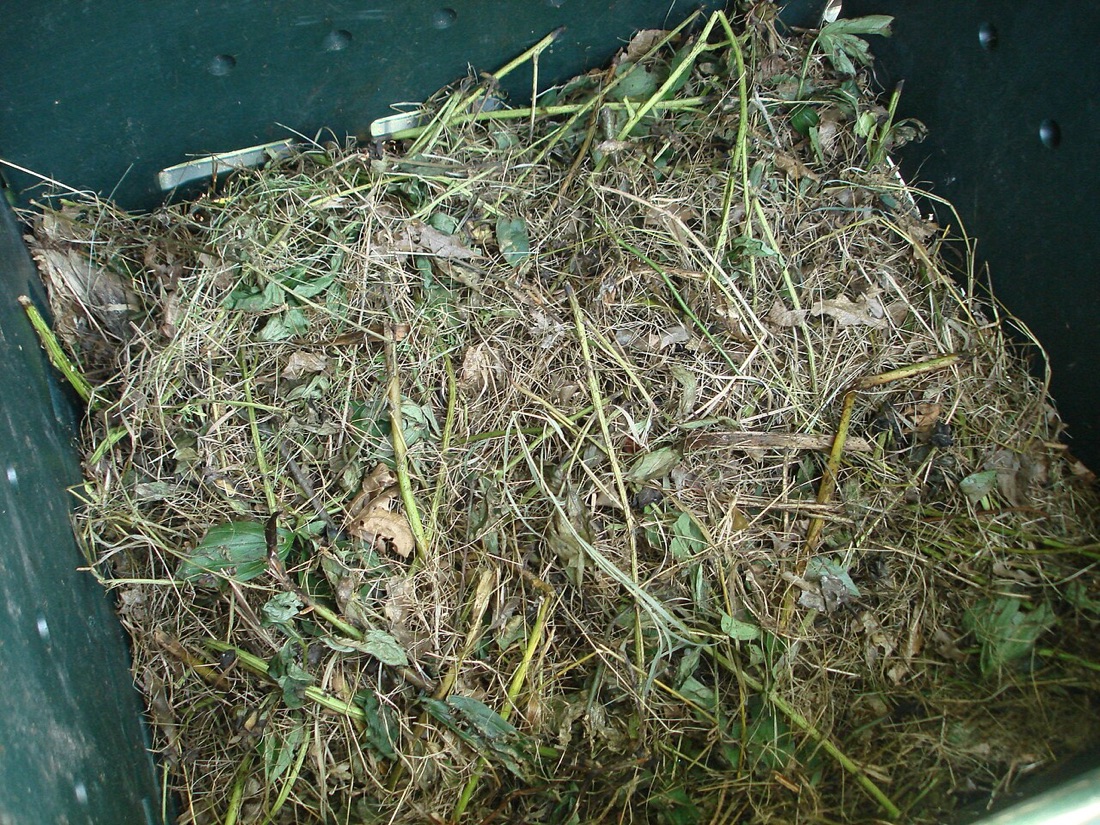
Your ordinary compost heap is driven mainly by bacteria. They work fast and hot — a well-built heap can reach 50–60°C — but they need a balance of "greens" (nitrogen-rich kitchen scraps, grass) and "browns" (carbon-rich material) plus a bit of turning and air. Fallen leaves are almost pure carbon, very low in nitrogen, so they sit in a compost bin going nowhere while the bacteria wait for a meal that never arrives.
Leaf mould is broken down by fungi instead. Fungi are perfectly happy with cool, damp, high-carbon material and they take their time. There is no heat, no smell, no turning, and no balancing of ingredients to worry about. The trade-off is speed: where compost is ready in a few months, leaf mould takes a year or two.
That is the honest headline, and it is worth being clear about it. Leaf mould is not a fertiliser. It contains very few nutrients. What it gives you is structure — wonderful, water-holding, soil-improving texture. Think of it as a conditioner rather than a feed. For feeding plants you want compost or a homemade plant feed; for improving the body of your soil, leaf mould is hard to beat.
Collecting the leaves
The raw material is free and it falls on its own. A few sensible rules make the difference between a quick, even batch and a slow, claggy one.
Which leaves rot fast (and which drag their heels)
Not all leaves are equal. As a rough guide:
- Quick and easy: oak, beech, hornbeam, hazel, birch, ash, alder, fruit-tree leaves. These thin leaves break down beautifully and give the finest leaf mould.
- Slow: sycamore, plane, horse chestnut, sweet chestnut and other thick, leathery leaves. They will rot eventually, but they hold each other up and take their time. Shred them first (see below) or keep them in a separate, slower pile.
- Very slow — keep out or shred hard: evergreens such as holly, laurel, conifer needles and Leylandii. These are tough and waxy. A few mixed in do no harm, but a pile of pure evergreen leaves will sit there for years.
You do not need to sort obsessively. A typical mixed pile of garden leaves works fine — just know that if it is mostly plane or sycamore, it will be slower than a beech pile.
Shred or mow to speed things up
The single most effective trick is to break the leaves up before you pile them. Smaller pieces have more surface area for the fungi to work on, and they pack down less, so the whole batch rots noticeably faster — sometimes halving the time.
The easiest way is to run a rotary lawnmower over them. Rake the leaves into a long, loose row across the lawn, set the mower a notch higher than usual, and mow along it. You get shredded leaves and a little grass mixed in, which adds a touch of nitrogen and helps things along. Collect the lot from the grass box. A leaf blower with a vacuum-and-mulch setting does a similar job.
Wet leaves rot faster
Gather leaves when they are damp rather than crisp-dry — soggy October leaves break down much more readily than ones blown dry in the wind. If your pile ever dries out, give it a good soak.
Only your own — and only clean — leaves
A word of caution on where you gather from. Stick to leaves from your own garden, or from a friend's. Avoid sweeping up from roadsides and busy pavements: those leaves carry road grime, oil and other muck you do not want near food crops, and in many areas raking up public verges is not yours to do anyway.
Leave out anything obviously diseased if you can — though leaf mould's slow, cool process is generally forgiving. And skip leaves from a lawn that has just been treated with a weedkiller, as residues can linger.
Two easy methods
You genuinely do not need to buy anything. Pick whichever suits your space.
Method 1 — bin bags (best for small gardens)
This is the no-effort, no-space option, and it is perfect if you only have a few barrowloads of leaves.
- Stuff damp leaves into a sturdy black bin bag or an old compost bag — pack them in reasonably firmly.
- If the leaves are dry, splash in a little water so they are damp throughout, like a wrung-out sponge.
- Poke a dozen or so holes in the bag with a garden fork or scissors, top, bottom and sides. The fungi need a little air, and the holes let excess water drain.
- Tie the top loosely, and tuck the bags out of the way — behind a shed, down the side of the house, anywhere out of sight.
Then forget about them for a year. Check once or twice over summer that they have not dried out; add a splash of water if they have. That is the whole job.
Method 2 — a simple wire cage (best for lots of leaves)
If you have mature trees and end up with mountains of leaves, a cage holds far more and lets you keep adding to it.
Knock four wooden stakes or canes into the ground to mark a square — anything from half a metre to a metre across. Staple or tie a length of chicken wire or weld-mesh around them to make an open-topped bin. Then simply tip your leaves in, treading them down now and then, and keep piling as more fall.
The open mesh lets rain in (which you want) and air through. In a dry spell, hose it down. A square metre of caged leaves will sink dramatically over the year as it breaks down — that settling is exactly what you are after.
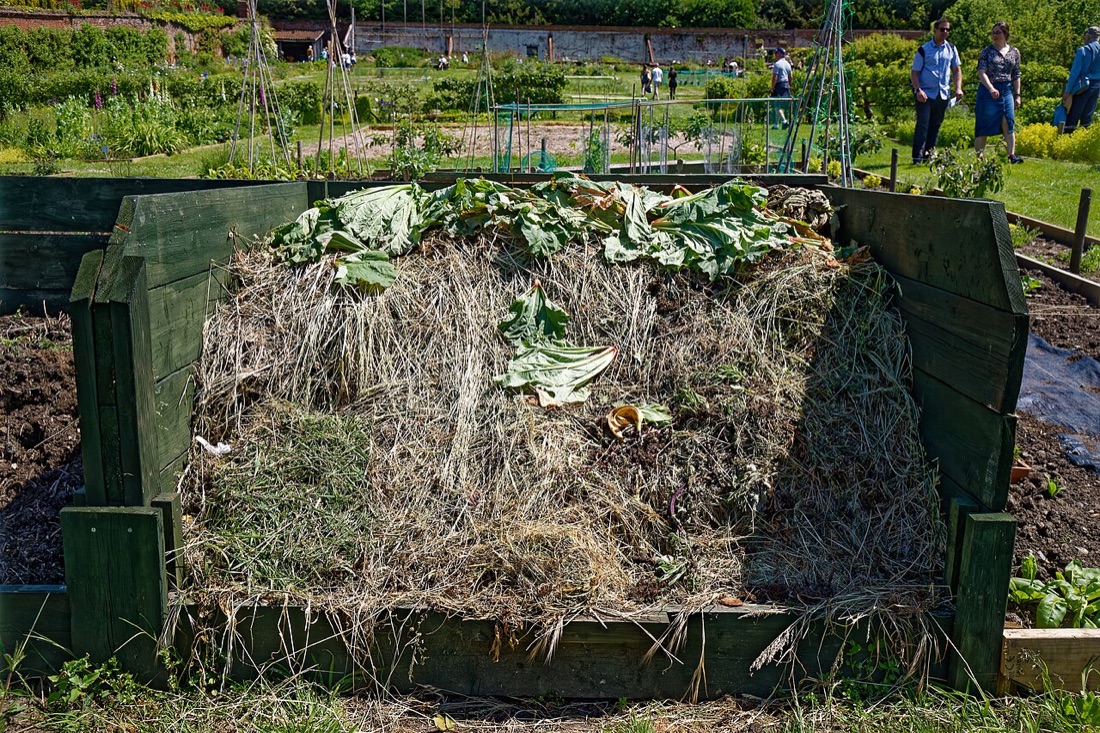
Keep it separate from the compost bin
Resist the urge to throw all your leaves into the main compost heap. A few are fine and add useful carbon, but a glut of pure leaves just sits there cold and slows the whole bin down. Leaves are far better kept in their own pile or bag, where the fungi can get on with the job in their own time.
How long it takes, and how to tell it is ready
Patience is the only real ingredient, and there are two finishing points worth knowing:
- Rough leaf mould — about 1 year. The leaves have collapsed into a dark, soft, partly broken-down mass. You can still see leaf shapes, but they crumble when you rub them. This is ready to use as a mulch or dug-in soil improver.
- Fine leaf mould — about 2 years. Leave it a second year and it becomes dark, fine and genuinely crumbly, with no recognisable leaves left. This is the good stuff for seed sowing.
Shredded leaves run faster than whole ones; a sheltered, consistently damp pile faster than a dry, exposed one. So treat "one to two years" as a guide, not a stopwatch — judge it by look and feel. When it smells sweet and earthy (like a woodland floor, never sour or ammonia-ish) and falls apart in your hand, it is done.
Using your leaf mould
Once it is ready, leaf mould earns its keep in several ways.
As a soil improver. Fork or rake a 3–5cm layer over your beds and let the worms pull it down, or mix it into the top few centimetres. It opens up heavy clay and helps light, sandy soil hold on to water — exactly the kind of work covered in improving your soil. On a no-dig bed you simply spread it on top and leave it.
As a mulch. A layer of rough leaf mould spread around established plants, fruit bushes and over bare soil suppresses weeds, locks in moisture and slowly feeds the worms below. It is a gentler, finer mulch than bark — lovely around strawberries and soft fruit.
As an ingredient in homemade seed compost. This is where fine, two-year leaf mould really shines. Because it is low in nutrients and holds moisture evenly, it makes a superb base for sowing seeds, which need a low-fertility, open mix rather than a rich one. A classic, frugal recipe is to mix roughly equal parts sieved fine leaf mould, good garden compost and sharp sand or grit. Sieve out any lumps and you have a free seed-and-cutting compost — see homemade plant feeds and mixes for more along these lines.
As a potting and container booster. A few handfuls mixed into container compost improves its texture and water-holding, which is a real help when growing food in containers through a dry summer.
Whichever way you use it, you have turned a job you were going to do anyway — clearing leaves — into one of the most useful materials in the garden, for the price of a bin bag.
A little kit, if you want it
You truly need nothing to make leaf mould. But if you are gathering large quantities, two things make the job quicker and tidier — recommended here only because they pay for themselves over many autumns, not because the process needs them.
Leaf mould is the gentlest introduction to making your own soil improvers. Once you have a batch on the go, the natural next step is a proper compost heap for your kitchen and garden waste — the two together will keep almost every bed on the plot in good heart, for free.
Key terms in this guide
- Mulch
- — A layer of material — compost, bark, leaf mould or straw — spread on the soil surface to lock in moisture, suppress weeds and feed the soil as it breaks down.
- Compost
- — Decomposed organic matter — kitchen and garden waste broken down into a dark, crumbly, sweet-smelling material that feeds soil and plants.
Frequently asked questions
How long does leaf mould take?
Which leaves make the best leaf mould?
Keep reading
How to Make Compost at Home
How to make compost at home in the UK — greens and browns, building and turning a heap, what to add, and turning kitchen and garden waste into free soil food.
Improving Your Soil: A Beginner's Guide
Find out what soil you have and improve it with compost, manure, mulch and no-dig — the simple UK guide to building rich, healthy ground that grows more.
No-Dig Gardening for Beginners
No-dig gardening for beginners in the UK — how it works, how to start a no-dig bed on grass or soil, and why it means less weeding and digging.