🌱 Getting Started
How to Make and Use a Wormery
How to set up a wormery in the UK — compost kitchen scraps with worms for rich worm compost and liquid feed, even with no garden or just a small balcony.
Part of: How to Make Compost at Home
Some links on this page are affiliate links. If you buy through them we may earn a small commission, at no extra cost to you. We only recommend things we think are genuinely useful for home growers.
The short version
- What it is — a compact bin where special composting worms (tiger or brandling worms, not garden earthworms) turn kitchen scraps into rich worm compost and a liquid feed.
- Kit or DIY — buy a tidy stacked-tray wormery, or make one cheaply from stackable storage boxes with drilled holes and a solid bottom box as a sump.
- Where to keep it — somewhere frost-free and shaded; worms are happiest at 10–25°C, so insulate it in winter and keep it out of summer sun.
- Feeding — little and often; bury scraps under bedding, add shredded cardboard to soak up moisture, and avoid citrus, onion, and cooked/meaty/dairy food.
- Harvest — lift off finished trays of dark, crumbly compost (a rich booster, not a bulk filler), and drain the liquid feed from the tap, diluting it about 1:10 before use.
- Main pitfall — too wet or overfed leads to smells, fruit flies, and worms escaping; ease off feeding and add dry bedding to recover.
A wormery turns everyday kitchen scraps into two genuinely useful things: a crumbly, dark worm compost and a liquid feed for your plants — all in a container roughly the size of a kitchen bin. The best part is that it needs almost no space, which makes it ideal if you garden on a balcony, in a small yard, or have no garden at all. A wormery sits happily in a sheltered corner, a porch, or even a shed, quietly working through your peelings while you get on with your life.
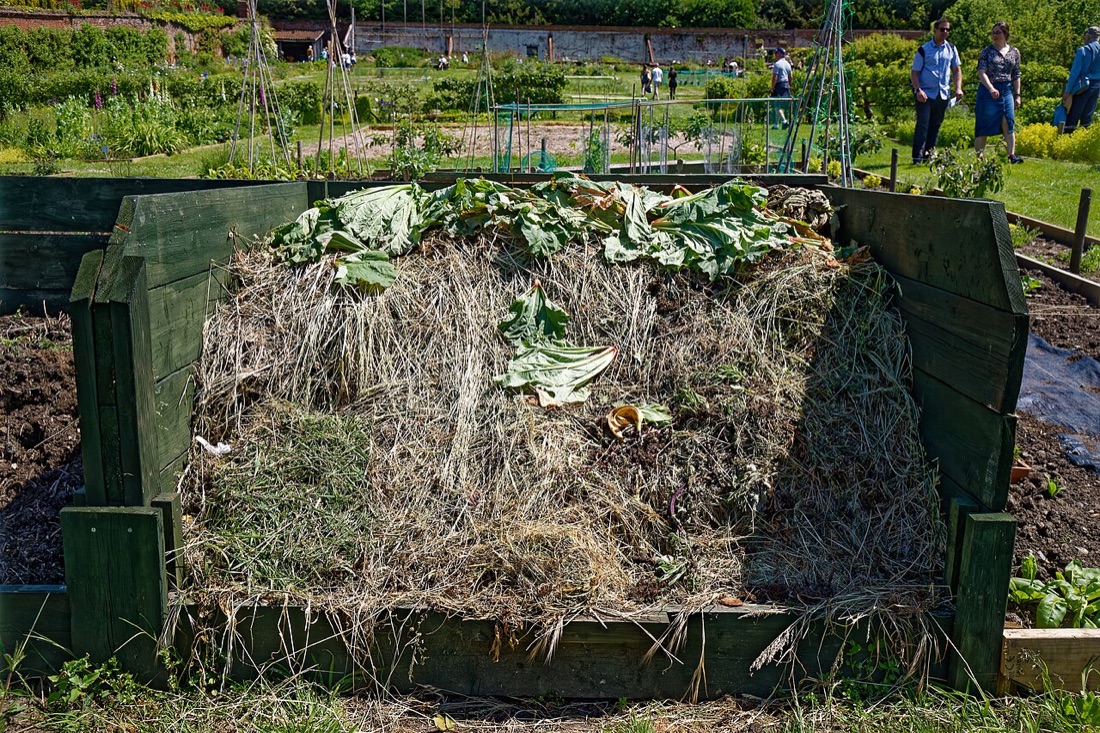
If you are short on room for a full heap, a wormery is the small-space cousin of a compost heap. It is well worth reading our main guide on how to make compost alongside this one, as the two methods complement each other neatly.
What a wormery is
A wormery is a sealed container in which composting worms eat your kitchen waste and turn it into rich worm compost (sometimes called vermicompost or worm castings). It is not the same thing as a traditional compost heap, where heat and a mix of bacteria and fungi do most of the work. In a wormery, the worms are the engine.
Crucially, you use special composting worms — usually tiger worms or brandling worms (both Eisenia species) — not the fat earthworms you dig up in the garden. Composting worms live near the surface in rotting matter, breed quickly, and eat their own body weight in waste over time. Ordinary garden earthworms burrow deep and will simply die in a wormery, so don't be tempted to substitute them.
Most modern wormeries use a stacked-tray design. You feed the worms in the top tray. As they finish one tray, you add another on top with fresh food, and the worms migrate upwards to follow it. The lower trays are left full of finished worm compost, ready to remove. A tap at the base lets you drain off the liquid that collects.
The result is concentrated and excellent. Worm compost is richer than ordinary garden compost, and a little goes a long way — it is a soil improver and seed-compost booster rather than a bulk material. For more on building soil, see our guide to improving your soil.
Buy a kit or make your own
You have two routes: buy a ready-made stacked wormery, or build one from boxes.
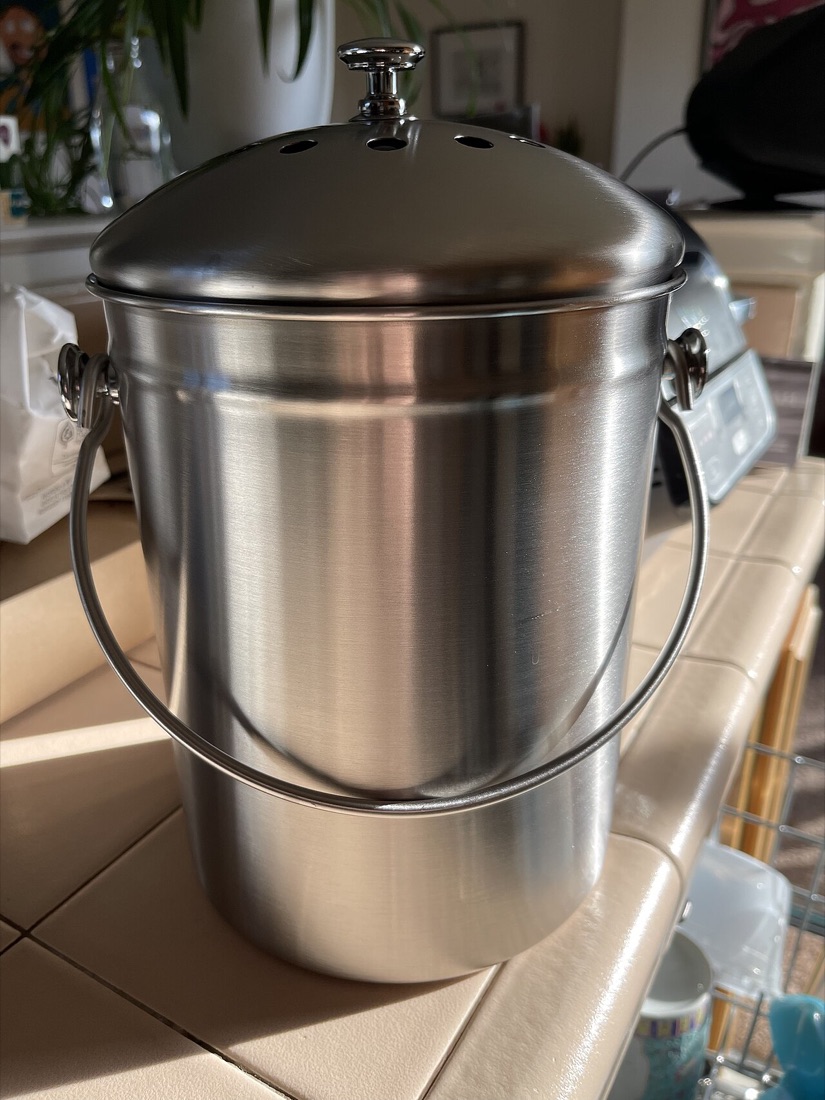
A shop-bought kit is the easy option. It comes as a set of stacking trays with ventilated bases, a lid, a sump tray and a tap, and usually a block of coir bedding and sometimes the worms themselves. It looks tidy, which matters if it is going on a balcony, and the trays make harvesting simple.
A homemade wormery costs next to nothing and works just as well. The classic version uses two or three stackable plastic storage boxes (the kind with lids you can buy at any DIY shop):
- Drill a grid of small holes (around 4–6mm) in the base of the upper box (or boxes) so worms and liquid can pass downward.
- Drill a row of smaller air holes near the top of the sides for ventilation.
- Leave the very bottom box solid and undrilled — this is your sump to catch the liquid. Stand the upper box on a couple of bricks inside it so it doesn't sit in the liquid.
- Keep the lid on to hold in moisture and keep worms in the dark.
Whichever you choose, the principle is identical: a feeding chamber above, a liquid-collecting sump below, and a snug lid on top.
Setting it up
Start by making a comfortable bed for the worms. Bedding gives them somewhere to live while they get going and stops the wormery turning into a wet, airless mush.
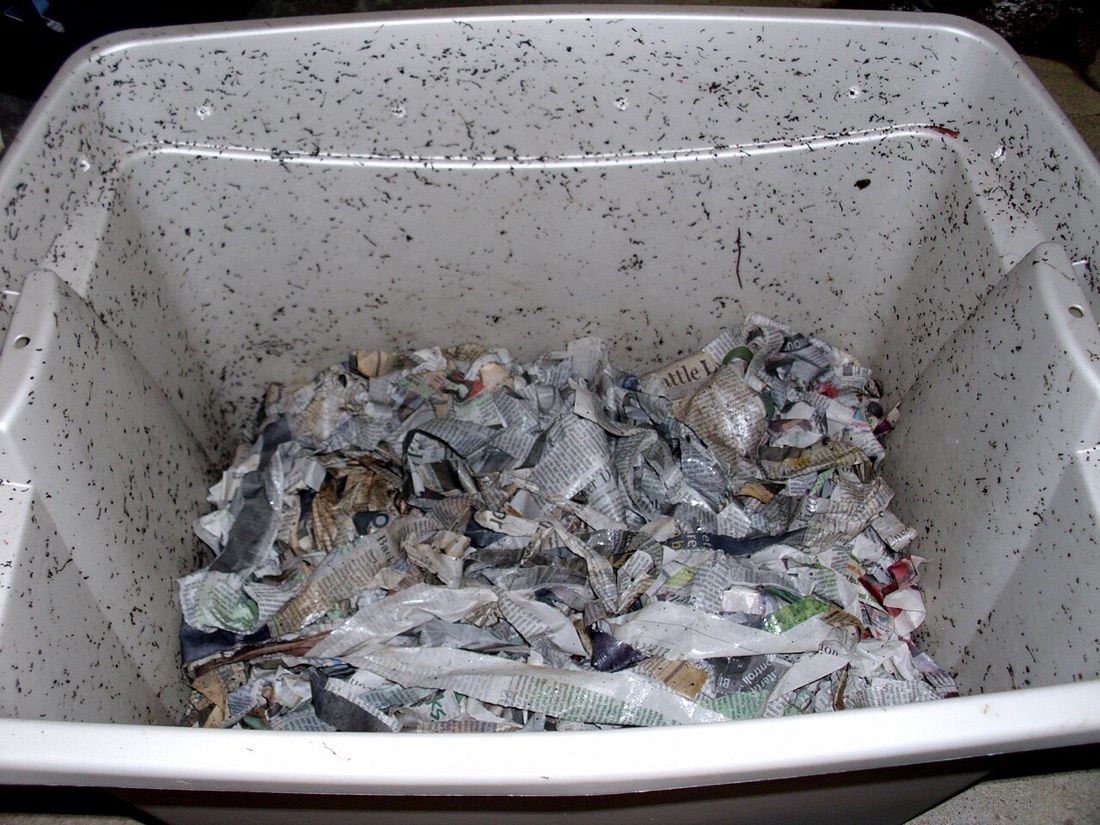
Good bedding is a damp, fibrous, carbon-rich material. Coir (the compressed brick of coconut fibre that comes with most kits) is ideal, but you can also use shredded newspaper and plain cardboard, torn up and dampened, with a handful of finished compost or leaf mould mixed in. It should feel like a wrung-out sponge — moist, never dripping. Add a fistful of grit or crushed eggshell if you have it, as worms have no teeth and a little grit helps them grind food, but don't rely on eggshell as any kind of feed; it breaks down extremely slowly and is there only as grit.
Spread 8–10cm of damp bedding in the feeding tray, then gently add your worms on top and leave the lid off in good light for an hour. The worms dislike light and will burrow down into the bedding, which tells you they have settled in. Then put the lid on and leave them a few days before you start feeding — they need time to get established.
How many worms to start with
A new wormery is usually sold with around 250–500g of composting worms, which is plenty. They breed to match the food available, so don't worry if it seems modest at first — the population grows into the space.
Where to keep it matters more than anything. Composting worms are most active between roughly 10°C and 25°C. They slow right down in the cold and can be killed by a hard frost or by baking in full summer sun.
Keeping a wormery happy through the UK year
Stand it somewhere frost-free and shaded — a porch, a shed, a sheltered north-facing corner, or against the house wall. Over a cold UK winter, move it into a shed or garage, or wrap it in old carpet or bubble wrap; the worms keep ticking over slowly. In a summer heatwave, get it out of direct sun so it doesn't overheat.
Feeding
The golden rule is little and often. A new wormery, in particular, is easily overwhelmed. Add a small amount, wait until it is being worked through before adding more, and build up as the population grows. If food is sitting untouched and starting to rot or smell, you are feeding too fast — ease off.
Cut or tear scraps into smaller pieces so the worms get through them quicker, and bury each feed under the surface or the existing bedding rather than leaving it piled on top, which helps deter fruit flies.
What composting worms love:
- Vegetable and fruit peelings (with the exceptions below)
- Tea leaves and coffee grounds, in moderation
- Crushed eggshells (as grit, not feed)
- Small amounts of stale bread, cooked rice or pasta — sparingly
- Soft green leaves and spent salad
- Torn cardboard, paper egg boxes and shredded plain paper, which balance out wet food
That last point is important: mixing in a little shredded cardboard or paper with your food keeps the wormery from going soggy and keeps the air flowing.
What to avoid:
- Citrus peel (orange, lemon, lime) and onion, garlic and leek — too acidic and pungent; worms steer clear of them
- Cooked food, meat, fish and dairy — these attract vermin and turn the wormery rancid; keep them out
- Anything oily, salty or heavily seasoned
- Spicy food and chilli
For more detail on which kitchen scraps suit which method, see our guide to composting kitchen waste. If your problem is the opposite — too much cooked or meaty waste — that is a job for bokashi or your council food-recycling caddy rather than worms.
Harvesting the worm compost and draining the liquid feed
Within a few months your first tray will be finished: dark, crumbly and earthy-smelling, with most of the worms having moved up to fresher food above.
To harvest in a stacked system, simply lift off the working tray, remove the finished one beneath, and rotate it back to the top to refill. To coax out any stragglers, tip the finished compost into a heap under bright light — the worms dive to the bottom, and you can scoop the compost off the top in layers, returning the wriggling base to the wormery.
Use worm compost generously but thoughtfully. Mix a few handfuls into potting compost, scatter it as a top dressing around plants, or stir it into the soil when planting. It suits hungry crops like tomatoes, courgettes and strawberries, and gives container plants a real lift — handy if you are growing food in containers.
The liquid that collects in the sump (often called worm tea or leachate) drains off through the tap. Always dilute it before use — it is strong, and applying it neat can scorch plants. A rough guide is about 1 part liquid to 10 parts water, until it looks like weak tea. Draw it off regularly so the sump never fills and floods the bedding above.
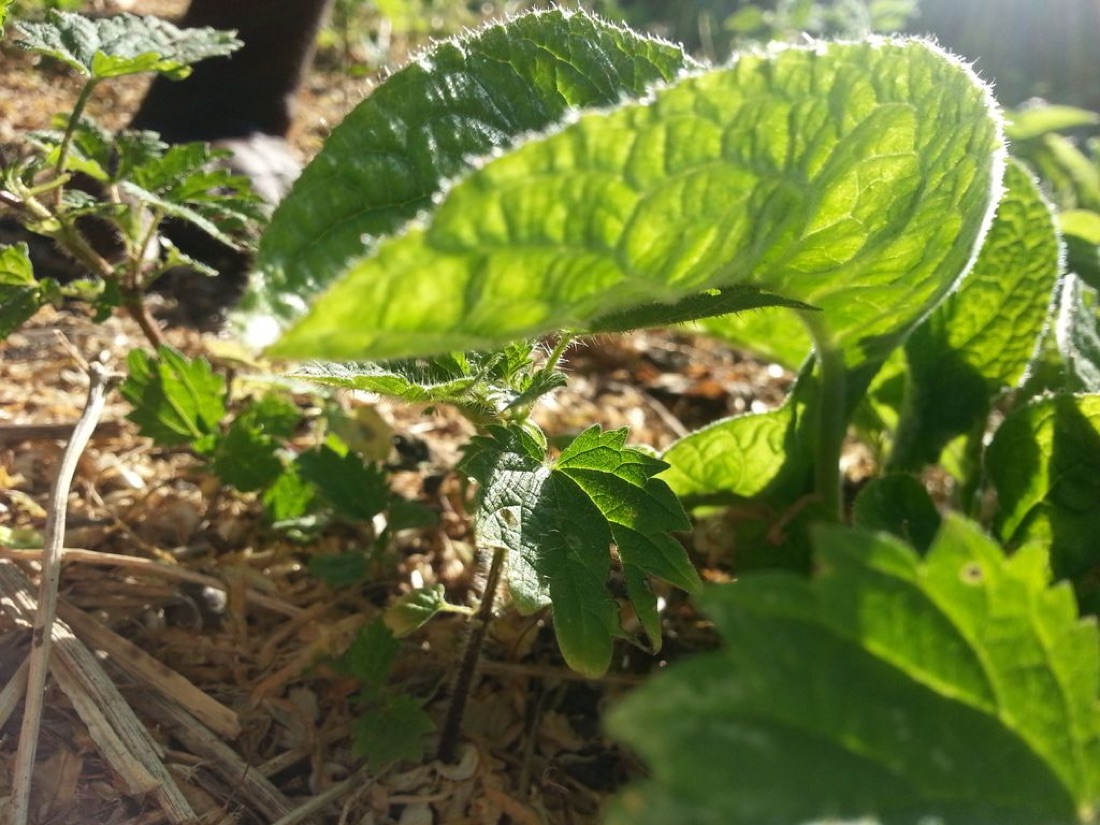
Worm liquid is one of the genuinely effective homemade feeds, alongside comfrey and nettle teas. For dilution rates and how to fit it into a feeding routine, see our guide to homemade plant feeds.
Once you have the hang of feeding and harvesting, a wormery makes a tidy partner to a no-dig bed — read no-dig gardening for how to put all that lovely compost to use.
Worm compost is a booster, not a bulk filler
Don't expect barrowloads. A wormery produces a modest amount of very rich compost — think of it as a concentrate to enrich your potting mix and beds, not a replacement for a full heap.
After you have run a wormery for a season and seen what it can do, here is the one piece of kit worth buying if you started with a homemade box and want something neater for a balcony or porch.
Common problems
Wormeries are forgiving once established, and almost every problem traces back to feeding too much, too wet, or the wrong things. Here are the usual ones.
It's too wet / sitting in liquid. Wet food and a blocked tap are the usual culprits. Drain the sump, mix in plenty of dry shredded cardboard or paper to soak up moisture, and feed less for a week or two.
It smells bad. A healthy wormery smells pleasantly earthy. A sour or rotten smell means food is decomposing faster than the worms can eat it, usually from overfeeding or it being too wet and airless. Stop feeding, add dry bedding, make sure the air holes are clear, and it will recover within a week or so. A foul, sulphurous smell often means cooked or meaty food has gone in — remove it.
Fruit flies. These appear when food is exposed on the surface. Always bury feed under the bedding, lay a sheet of damp cardboard or newspaper over the top as a cover, and avoid adding lots of overripe fruit at once. A layer of cardboard on top makes a big difference.
Worms trying to escape. A few wanderers after rain or a change in pressure is normal. But if lots of worms are crawling up the sides or massing under the lid, conditions inside have turned against them — usually too wet, too acidic, or overheated. Check the moisture, ease off acidic foods like fruit, and make sure it isn't sitting in the sun. Leaving the lid off under a light for an hour drives them back down while you sort the cause.
Too acidic. A wormery heavy on fruit and coffee can turn acidic, which the worms dislike. A sprinkle of garden lime or crushed eggshell helps balance it, and cutting back on fruit for a while does the rest.
With a sheltered spot, a steady little-and-often feed, and a handful of cardboard now and then, a wormery is about as low-effort as composting gets — and it gives you rich compost and a free liquid feed from waste that would otherwise go in the bin. If you'd like to grow alongside it, our list of the easiest crops for beginners is a good place to put that compost to work, and you can browse more foundations over on the getting started hub.
Key terms in this guide
- Compost
- — Decomposed organic matter — kitchen and garden waste broken down into a dark, crumbly, sweet-smelling material that feeds soil and plants.
Frequently asked questions
What worms do you use in a wormery?
Do wormeries smell?
Keep reading
How to Make Compost at Home
How to make compost at home in the UK — greens and browns, building and turning a heap, what to add, and turning kitchen and garden waste into free soil food.
Composting Kitchen Waste: Bokashi and Caddies
How to compost kitchen waste in the UK — bokashi bins, caddies and council food recycling, including the cooked food, meat and dairy you can't compost normally.
Homemade Plant Feeds: Comfrey, Nettle and More
How to make free plant feeds in the UK — comfrey and nettle tea, plus the honest truth about banana skins, wood ash and coffee grounds as homemade fertilisers.