🌱 Getting Started
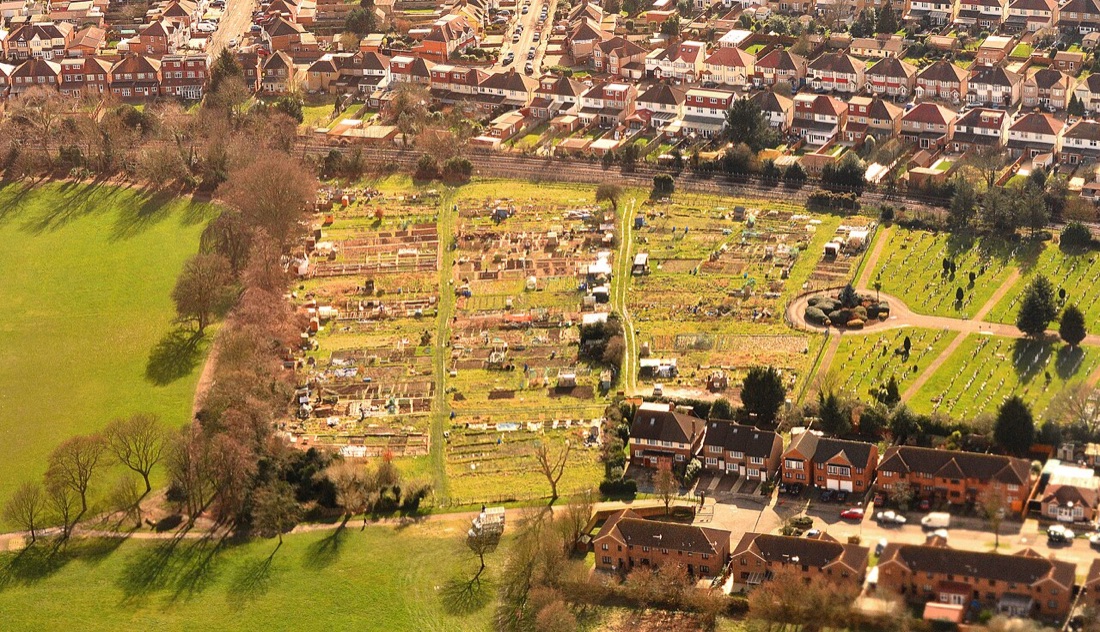
Planning a Homestead Layout
How to plan a homestead layout in the UK — zoning beds, paths, fruit, compost, water and chickens around sun, access and your daily routes for an efficient patch.
Some links on this page are affiliate links. If you buy through them we may earn a small commission, at no extra cost to you. We only recommend things we think are genuinely useful for home growers.
A good homestead layout is mostly common sense, but it pays to think it through on paper before you move a single barrowload of soil. Get the bones right — sun, water, paths and where the permanent things live — and the patch almost runs itself. Get it wrong and you spend three seasons trudging the long way round, watering by hand, and wishing the compost bin wasn't at the bottom of the garden in the rain.
This is a planning guide, not a building guide. The aim is a sketch you can actually work to: where each bed goes, how you'll get a wheelbarrow to it, and where the fruit, compost, water and chickens sit so you never have to shuffle them later. It's a key step in the wider homestead setup guide, and it's worth an afternoon before you commit.
Start with sun, water and access (map your space)
Before you decide anything, spend a day watching your plot. The three things that should drive every later decision are sun, water and access — in that order.
Sun first. Most vegetables want six or more hours of direct sun a day in the UK growing season. Stand in the garden at mid-morning, midday and late afternoon and note where the shade falls — from the house, fences, the neighbour's leylandii, that big shed. South-facing space is gold; reserve it for sun-lovers like tomatoes and beans. The shadiest corners can take leafy crops, a compost bay or the water butts, none of which mind dappled light.
Water second. Note where your outside tap is, and where rain runs off roofs — the house, shed, greenhouse and any outbuilding are all free catchment for water butts. The closer your thirsty beds sit to a tap or butt, the less hauling you'll do all summer. We cover this in full in water on the homestead, but at the planning stage just mark the tap and the downpipes on your sketch.
Access third. Where does the gate open? Can you get a wheelbarrow — or a delivery of compost and manure — from the road or drive to the heart of the plot without lifting it over anything? A patch you can't barrow into becomes a patch you neglect.
Sketch the boundary, mark north, then shade in where the sun lands and where the tap, downpipes and gate sit. That single drawing decides 80% of your layout.
Cheap way to test the sun
Push a few bamboo canes in where you're thinking of putting beds, then check them morning, noon and evening on a bright day. If a cane is in shadow for half the day, that's not your tomato bed — that's where the rhubarb or a water butt goes.
Zoning: keep what you visit most closest to the house
The single most useful idea in homestead planning is zoning — arranging things by how often you visit them. The stuff you touch daily lives by the back door; the stuff you visit weekly or monthly lives further out. It's an old permaculture principle and it genuinely saves your legs.
Zone 1 — by the door. Salad leaves, herbs, the crops you pick mid-cooking, and the kitchen-scraps compost caddy or bin. You'll nip out in slippers for a handful of basil or some rocket far more often if it's three steps away. A small bed of Mediterranean herbs right by the kitchen earns its place every single day.
Zone 2 — the main beds. Your bulk vegetables — potatoes, brassicas, roots, beans — in the productive middle of the plot. You visit these a few times a week to weed, water and harvest, so they want good sun and easy barrow access, but they don't need to be underfoot.
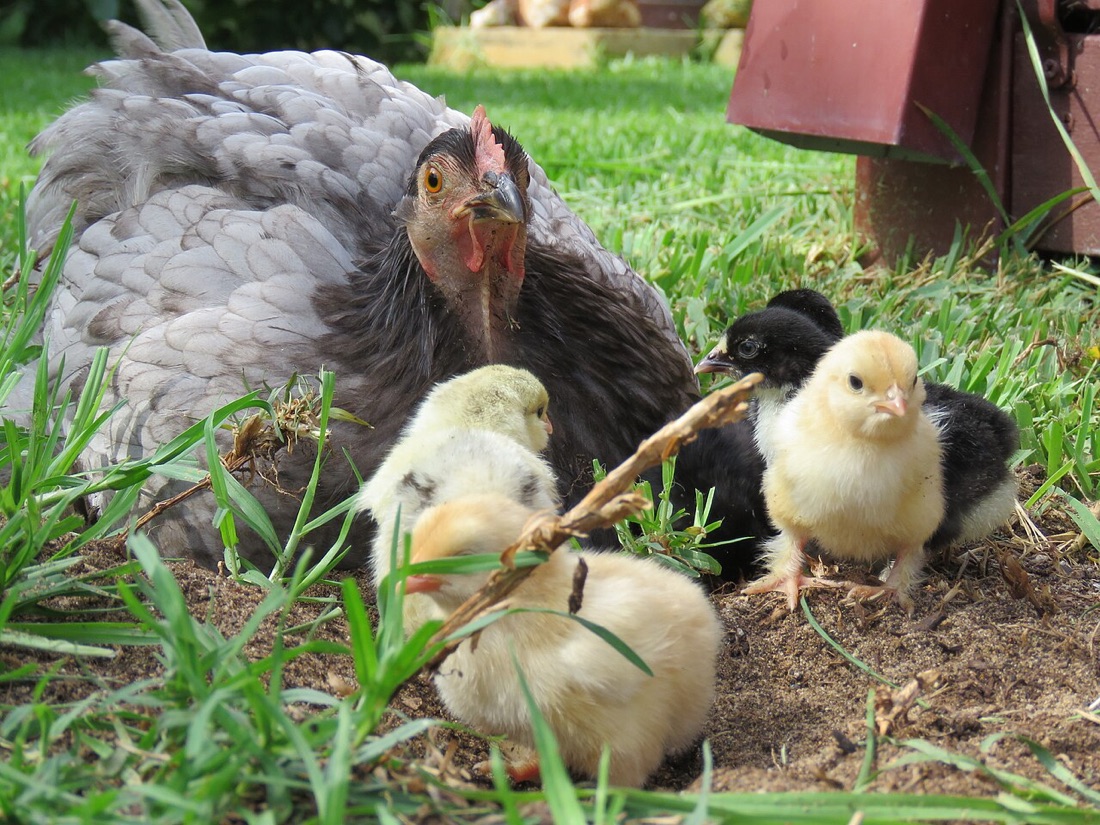
Zone 3 — the edges and far corners. This is where the permanent, low-visit things go: fruit trees and bushes, the main compost bays, and the chickens. Keeping chickens works beautifully at the boundary, where their run and house won't block sun off the beds and their scratching stays contained — and they're handy for clearing a bed at the end of the season, as in chickens and your vegetable garden.
Compost is the one thing that breaks the zone rule. It needs to sit central-ish — close enough that emptying the kitchen caddy and barrowing finished compost onto the beds is a short trip, but not so close it's an eyesore by the door. A spot at the head of the main beds, in light shade, is ideal.
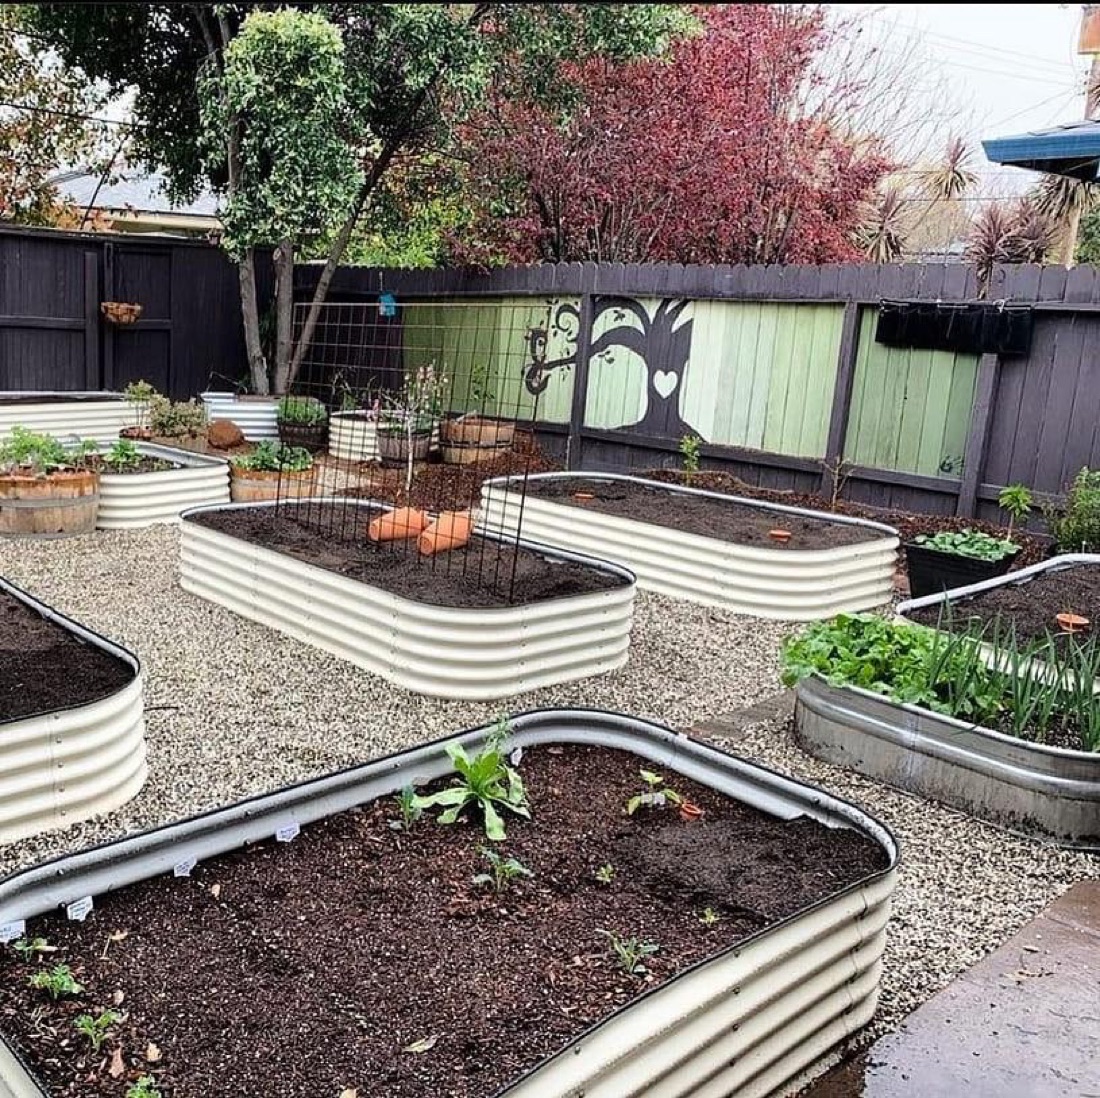
Beds and paths: 1.2m beds, wheelbarrow-width paths
Now the grid. Two numbers do most of the work here.
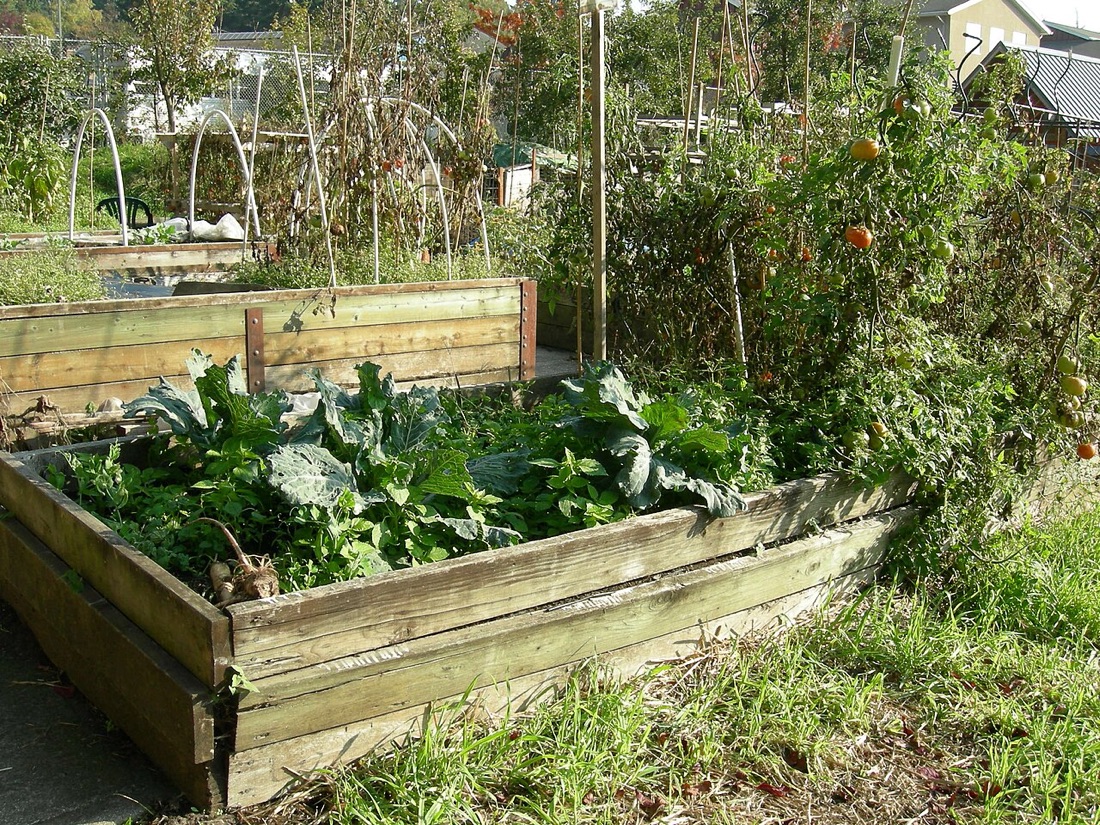
Beds: 1.2m wide. A 1.2m (4ft) bed lets you reach the middle from either side without ever standing on the soil — which is the whole point, because compacted soil grows worse crops. Length is up to you and your space; 2.4m or 3.6m runs are tidy because timber and kits come in those lengths. If you're going raised, our guide to building raised beds covers sizing, materials and whether to buy a kit or build your own. For containers and small spaces, the same reach-from-the-side logic applies — see growing food in containers.
Paths: two widths. Make your main path — the spine you barrow down — at least 60cm wide, ideally 70–75cm, so a loaded wheelbarrow fits with your knuckles spare. Secondary paths between beds can be narrower, 30–45cm, just enough to kneel and walk. Skimp on the main path and you'll clip every bed corner with the barrow for years.
Surface the main path properly — bark chip, gravel over membrane, or slabs — because it takes the traffic. Narrow paths can be grass, but grass paths need mowing and creep into beds, so many people mulch them with wood chip instead.
Why north–south beds
Where the shape of your plot allows, run beds roughly north to south. Both long sides then get even light through the day, and you avoid one row permanently shading the next. Keep taller crops and any structures — bean wigwams, a greenhouse, the chicken run — to the north end so they don't cast shade over everything to their south.
Placing the permanents (fruit, water butts, compost bays)
Some things, once placed, stay put for years — so plan them deliberately and plan them once.
Fruit and other perennials. A perennial lives for years, so it doesn't fit into crop rotation and shouldn't sit in the middle of beds you replant each spring. Give fruit its own permanent home along a sunny boundary or in a dedicated patch. Strawberries suit a bed of their own near the house (you pick them often); an apple tree or two, plus soft fruit and rhubarb, settle nicely along the back or a fence line where they won't be disturbed.
Water butts. Put them under every downpipe you can — house, shed, greenhouse — and site at least one near the thirsty summer beds so you're not carrying cans across the plot. Raise butts on blocks so a can fits under the tap. More in water on the homestead.
Compost bays. Two or three bays side by side (one filling, one rotting, one ready) earn their space fast — see how to make compost and, for a slower autumn-leaf option, leaf mould. Site them on bare soil so worms get in, in a spot you'll actually walk past with the caddy. Much of what fills them is free if you're handy with reuse and recycling in the garden.
Designing for the routes you actually walk
Here's the test that separates a layout that works from one that just looks neat: trace your real daily routes on the sketch.
Draw the line you'll walk from the back door to pick salad. From the kitchen to the compost caddy. From the tap to the thirstiest bed. From the gate, with a barrow, to where a manure delivery will go. If any of those lines is long, crosses a lawn you'll mow, or doglegs round an obstacle, redesign before you build — moving a pencil line is free; moving a raised bed full of soil is a weekend you won't get back.
Cluster the high-frequency things so one short loop covers them: salad, herbs, the caddy and a water butt all reachable in a minute from the door. The low-frequency things — fruit, main compost, chickens — can sit at the end of a longer, less-travelled route, because you only go there now and then.
It's the same thinking behind a sensible grow-your-own year plan: match the effort to how often the job comes round.
Allowing for growth and phasing
Almost everyone underestimates how much a homestead grows on them. The two-bed plot of year one becomes six beds, a fruit cage, a greenhouse and a chicken run by year three. So plan the full layout now, even if you only build part of it this season.
Mark every future bed, the eventual greenhouse, the chicken run and the fruit area on your master sketch — then build outward from the house in phases. Keep the unbuilt areas tidy under cardboard and a thick mulch, no-dig style, so the ground is clean and ready when you get to it rather than a thicket of bindweed. Our no-dig gardening guide explains how to start a bed this way with almost no digging.
Phasing also spreads the cost and the work, which keeps the whole thing realistic — see homestead on a budget for stretching the spend. Build your one or two most-visited beds first, get a win, and let the plan pull you forward.
When you're ready to firm up bed sizes and fit them to your space, the raised-bed planner lets you sketch the grid to scale before you buy a stick of timber. From there, head back to the homestead setup guide for the materials, soil and first-season jobs that turn the plan into a patch.
Key terms in this guide
- Perennial
- — A plant that lives for several years, regrowing each season — unlike annuals, which grow, set seed and die in a single year.
Useful tools for this
Frequently asked questions
How do I lay out a vegetable plot efficiently?
Which way should vegetable beds face?
Keep reading
How to Set Up a Homestead Patch (UK Guide)
A complete UK guide to setting up a homestead patch from scratch — planning the plot, what to include, where to get materials, and a realistic first-year path.
How to Build Raised Beds (Cheaply)
How to build raised beds in the UK — materials, sizes and a simple build, plus how to fill them affordably and the no-dig way to set them up on grass.
Keeping Chickens in Your Garden: A Beginner's Guide
A UK beginner's guide to keeping chickens in your garden — what you need, how many to keep, the rules, daily care, and getting your first fresh eggs.