🌱 Getting Started
How to Build Raised Beds (Cheaply)
How to build raised beds in the UK — materials, sizes and a simple build, plus how to fill them affordably and the no-dig way to set them up on grass.
Some links on this page are affiliate links. If you buy through them we may earn a small commission, at no extra cost to you. We only recommend things we think are genuinely useful for home growers.
A raised bed is just a frame of soil sitting a little higher than the ground around it. It gives you a tidy, well-drained patch with good soil you control, and it's one of the simplest, most satisfying jobs on a new plot. The good news for a beginner: you do not need pricey kits or power tools to build one. This guide shows how to put a bed together cheaply, in an afternoon, and fill it without spending a fortune.
If you are still working out where your beds should go and how many you need, start with the homestead setup guide, which covers the whole patch. This article is the build itself.
Choosing materials
The frame holds the soil in. Almost anything sturdy and rot-resistant will do, so the real choice is between free, cheap and easy.
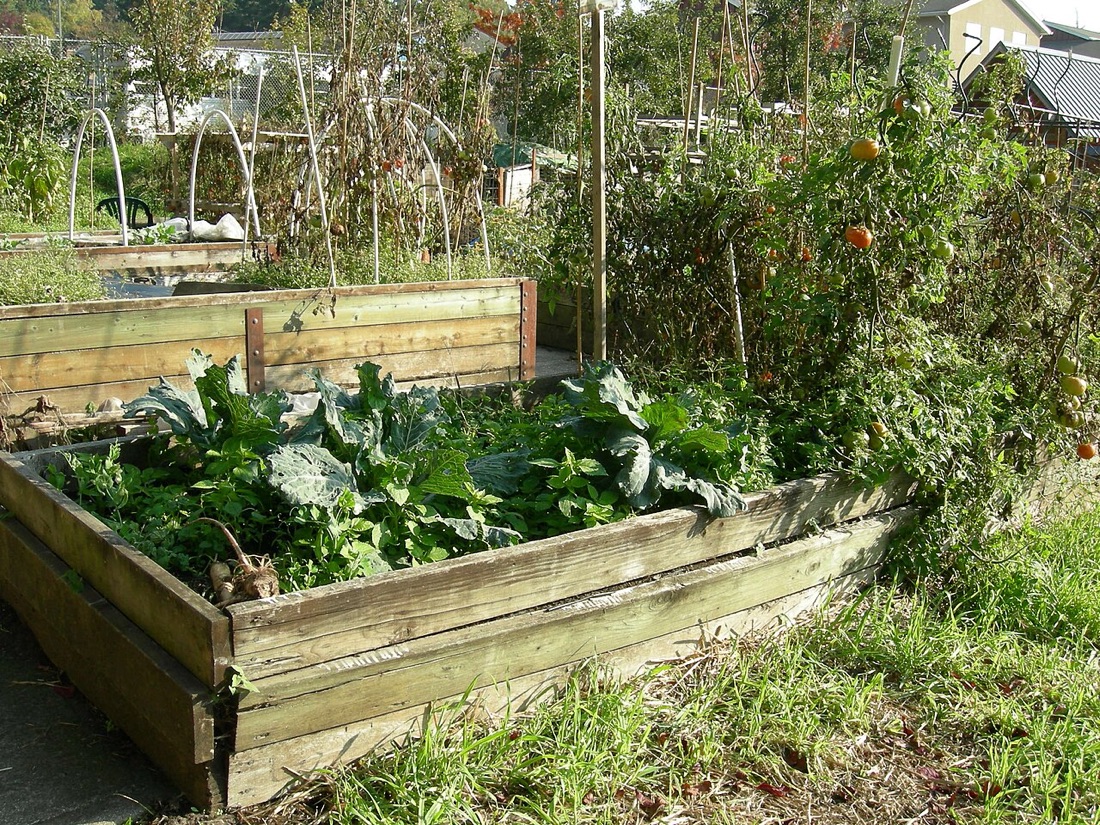
Scaffold boards are the smallholder's favourite. They are thick (around 38mm), strong, and a reclaimed board from a builders merchant or local scaffolder often costs a few pounds — far less than new timber. Ask at small builders merchants or search Facebook Marketplace and Gumtree for "used scaffold boards". They will last several years untreated and longer if you oil them.
Sawn timber from a builders merchant or somewhere like Wickes gives a neater finish. Look for 22mm or thicker; anything thinner bows under wet soil. It costs more than reclaimed boards but is straight and easy to work with.
Pallets are often free. Plenty of yards, farm shops and small businesses give them away, and Freecycle or Freegle listings turn them up regularly. You can dismantle them for planks or stand whole sections on edge. Choose pallets stamped HT (heat-treated) rather than MB (methyl bromide, a chemical treatment you do not want near food). The HT stamp means they were heat-treated only, which is fine for growing.
Railway sleepers look the part and last for years, but old reclaimed sleepers are soaked in tar-based creosote, which can leach into soil — avoid them for food beds. New "landscaping sleepers" are safe and tidy but pricey.
Treated timber and food
Modern pressure-treated timber (tanalised) uses copper-based preservatives and is widely considered safe for veg beds, but if you would rather not risk it, line the inside of the frame with a sheet of thick polythene or a pond liner offcut so soil never touches the wood. Always avoid old creosote-soaked sleepers and MB-stamped pallets.
If building from scratch feels like too much, you can buy a flat-pack frame instead. Our pick of the best raised bed kits compares timber, metal and recycled-plastic options for people short on time or tools.
The right size and depth
Get the size right and the bed is a pleasure to use; get it wrong and you will be trampling the soil to reach the middle.
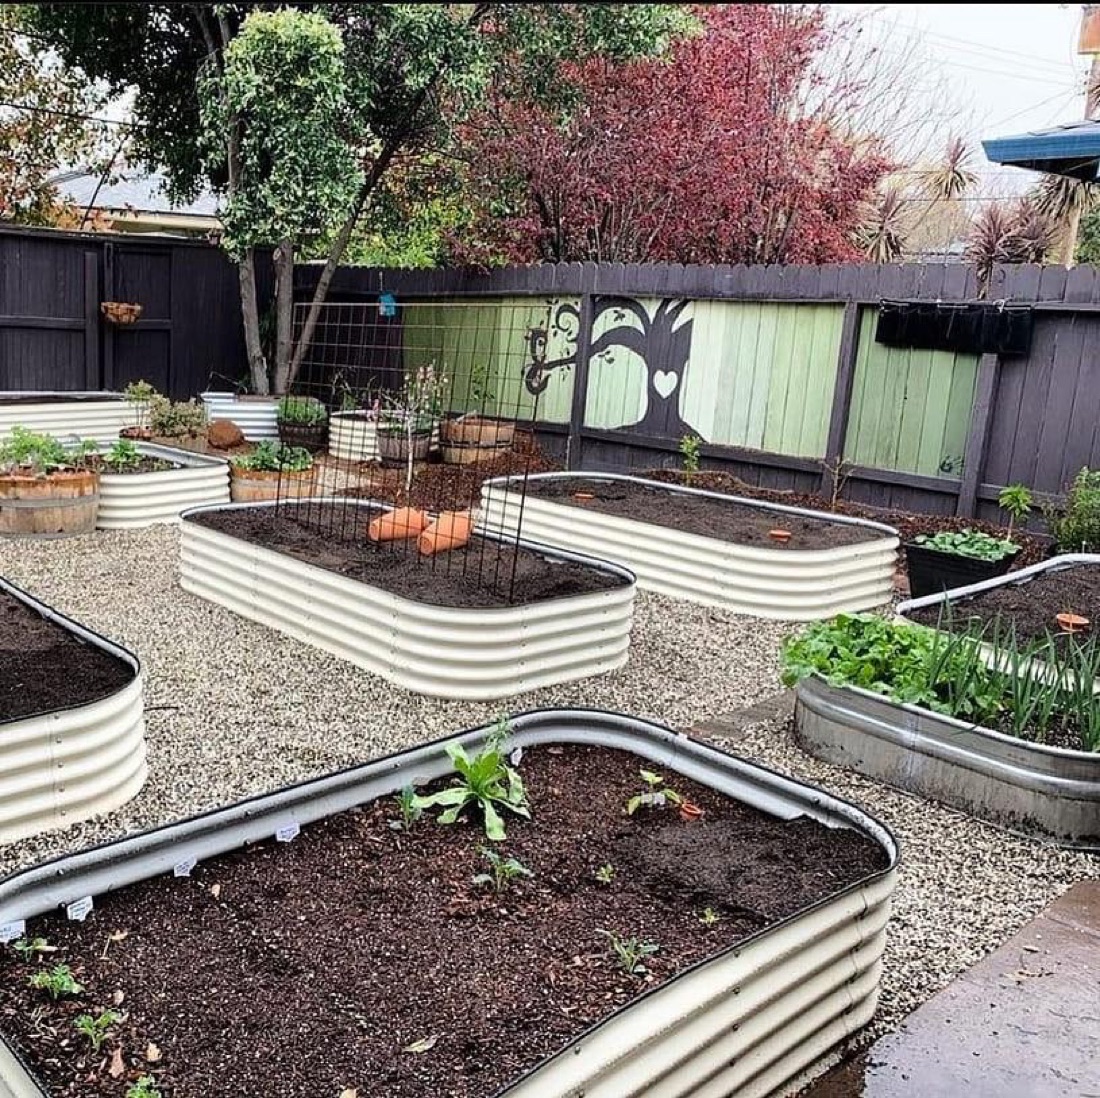
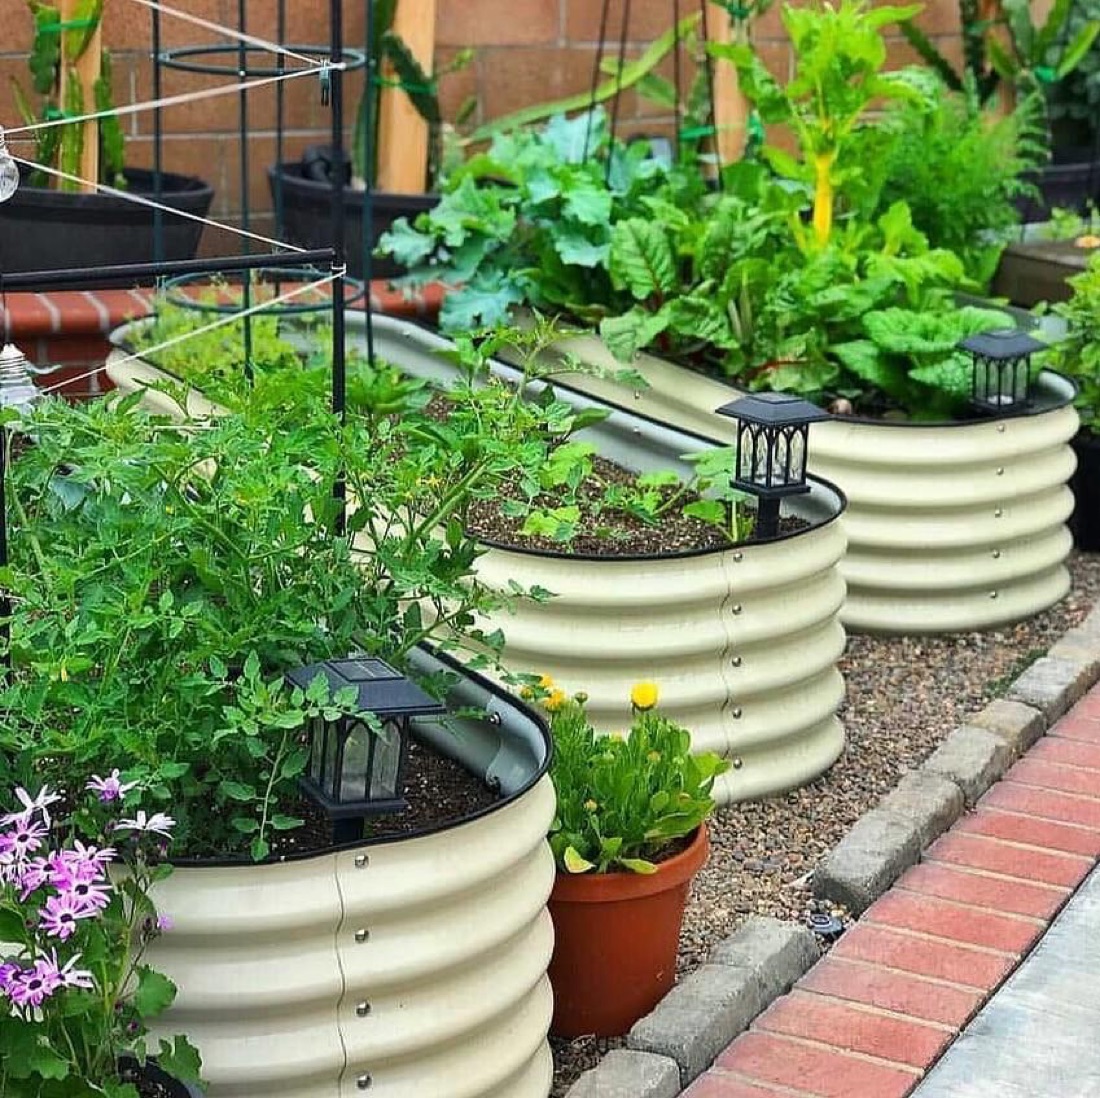
Width: 1.2m is the magic number. That lets you reach the centre comfortably from either side without stepping on the bed — which keeps the soil loose and is the whole point of a no-dig approach. If a bed sits against a wall or fence you can only reach from one side, keep it to 60–75cm wide.
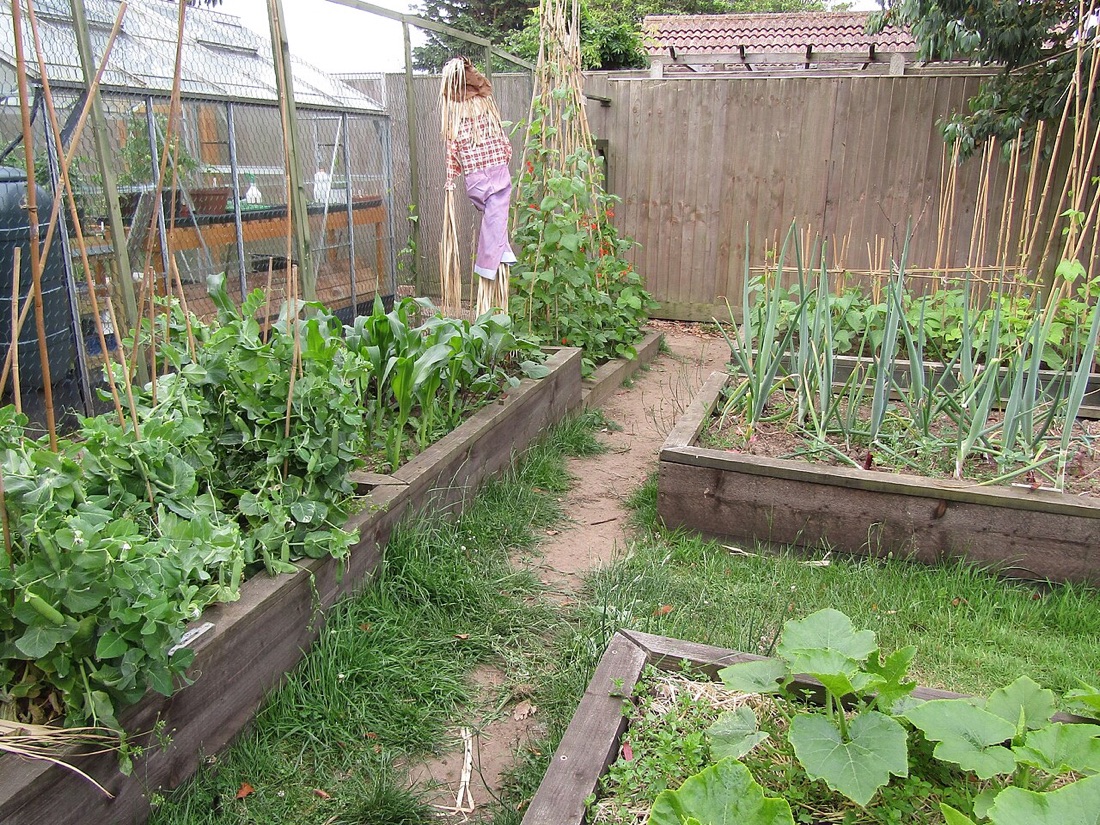
Length: as long as you like, but 2.4m or 3m is easy because it matches standard board lengths with little waste. Leave at least 45cm between beds for a wheelbarrow and your feet.
Depth depends on what you grow:
- 15–20cm is plenty for salads, most leafy greens and bush beans.
- 25–30cm suits the majority of veg, including courgettes, brassicas and onions.
- 30cm or more earns its keep for deep-rooting carrots, parsnips and potatoes, or if you are building on hard ground where roots cannot dive into the soil below.
For a first bed sitting on soil or grass, 25cm (roughly two scaffold boards or three sawn planks stacked) is a sensible all-rounder. The raised bed planner helps you sketch out sizes and work out how much fill you will need before you buy anything.
A simple build
Here is a no-fuss rectangular bed from scaffold boards. The same method works for any timber.
You'll need
Boards cut to length, 75mm exterior screws (or galvanised nails), a cordless drill or screwdriver, a tape measure, a spirit level, and four offcut battens for the corners. That's it.
- Cut your timber to length. Many merchants will cut boards for you. For a 2.4m × 1.2m bed you need two long boards and two short ones per layer.
- Make corner posts. Cut four battens (offcuts of 50mm × 50mm are ideal) a touch shorter than the bed's finished height. These sit inside each corner and give the screws something solid to bite into.
- Screw the frame together. Stand a long and a short board on edge to form a corner, slot a batten into the inside angle, and drive two or three screws through each board into the batten. Repeat for all four corners. Drilling small pilot holes first stops the wood splitting.
- Stack a second layer if you want more depth, screwing it to taller corner battens or overlapping the joins like brickwork for strength.
- Position and level the bed. Set it where it will live, pop a spirit level across the top, and pack a little soil or an offcut under any low corner until it sits level. A level bed waters evenly instead of running off one end.
- Line it (optional). For wood you are unsure about, staple polythene to the inside walls — but not the base, so water can still drain. There is no need to line a bed sitting on open soil.
Skip the weed membrane at the base
Don't line the bottom with plastic — it traps water and blocks worms and roots from reaching the soil below. A layer of cardboard (see the next section) is all you need to smother grass while letting everything else through.
If you enjoy this kind of job, there are plenty more weekend builds in our DIY garden projects round-up, and lots of frame material can be found for nothing using the tips in reuse and recycle in the garden.
Filling it affordably — the no-dig way
Filling beds is where costs sneak up, because they swallow more soil than you expect. The trick is to use cheap or free bulk material for the lower two-thirds and save the good stuff for the top.
The easiest method, especially over grass, is the no-dig way:
- Lay cardboard on the grass. Flatten plain brown cardboard boxes (peel off tape and plastic labels) and overlap them generously across the whole base, right up to the frame. Water it well. This smothers the grass and weeds, which rot down into food for worms.
- Add the bulk fill. On top of the cardboard, pile your cheaper organic matter — homemade or council green-waste compost, well-rotted manure, rotted woodchip, or even turves you stripped elsewhere laid grass-side down. This fills most of the depth for little or no money.
- Top with good compost. Finish with a 5–10cm layer of decent multi-purpose or peat-free compost. This is the layer your seeds and young plants root into, so it is worth buying well.
Over the first season the bulk layer settles and the worms pull everything together into rich, dark soil — no digging required. Top up with a fresh few centimetres of compost each spring and the bed only gets better.
Where do you get all that bulk cheaply? Free or near-free manure and compost is easier to find than most beginners think — local stables, council compost schemes and Freegle are the usual goldmines. Starting your own heap with how to make compost and stockpiling autumn leaves as leaf mould means future beds cost you almost nothing to fill.
Best time to build and fill
Autumn is ideal: build the bed, lay the cardboard and fill it, and let it settle over winter ready for spring sowing. But you can build any time of year — fill in spring and you can sow straight away, as long as the top layer is good compost.
Setting it on a slope or hard ground
Not every plot is flat or soft. Two common situations need a small tweak.
On a slope, dig the higher end of the frame slightly into the bank and build the lower end up, so the top of the bed sits level. The downhill boards will be taller, which is fine. Tap a wooden stake into the ground against the outside of each downhill corner and screw the frame to it — this stops a heavy, soil-filled bed from creeping or bowing outward over time. For a steep slope, a series of shorter level beds stepped down the hill works far better than one big tilted one.
On hard ground — paving, concrete, compacted hardcore or solid clay — roots cannot escape downward, so go deeper. Aim for at least 30cm and fill the base with a few centimetres of coarse material (broken pots, gravel or rubble) for drainage before your compost layers, so the bed does not turn into a soggy trough. On solid paving, drill or leave gaps in the base so water can drain away. If digging is genuinely impossible, this is really just a very large container — the same principles in growing food in containers apply.
With the frame built, levelled and filled, you have the most productive square metre on the plot. From here, the start a vegetable garden guide walks you through what to sow first, and easiest crops for beginners points you at the wins that make a new bed feel worthwhile in its very first season.
Key terms in this guide
- No-dig gardening
- — A way of gardening that avoids digging the soil. Instead you spread compost on the surface and let worms and weather work it in, protecting soil structure and suppressing weeds.
- Compost
- — Decomposed organic matter — kitchen and garden waste broken down into a dark, crumbly, sweet-smelling material that feeds soil and plants.
Useful tools for this
Frequently asked questions
What is the cheapest way to build a raised bed?
How do you fill a raised bed cheaply?
Keep reading
How to Set Up a Homestead Patch (UK Guide)
A complete UK guide to setting up a homestead patch from scratch — planning the plot, what to include, where to get materials, and a realistic first-year path.
No-Dig Gardening for Beginners
No-dig gardening for beginners in the UK — how it works, how to start a no-dig bed on grass or soil, and why it means less weeding and digging.
Choosing a Raised Bed Kit
How to choose a raised bed kit in the UK — timber, recycled plastic or metal, the best size and depth, and what to look for so it lasts for years.